How To Pack Pots and Pans

Stacks of pots, pans, and skillets being wrapped in packing paper and nested in a moving box

Packing your kitchen for a move can feel like a game of culinary Tetris, especially when it comes to pots and pans. These heavy, oddly shaped essentials don’t exactly fold up or fit into boxes neatly. And, if you don’t pack them right, you could end up unpacking a mess of scratches, dents, bowed lids, and chipped handles.

Our handy guide walks you through the process step by step so you can pack like a pro and keep your prized cookware safe while you’re on the road.

Last updated: Jan 19, 20265 min read
Melanie Morris
Written byMelanie Morris

Key Takeaways

  • Pots and pans are heavy and oddly shaped: improper packing means scratched non-stick coatings and dented lids
  • Supplies: packing paper, bubble wrap, sturdy medium boxes, and dish towels or rags for padding
  • Nest pots and pans: by size — wrap each individually first, then nest with paper or cloth between them
  • Pack lids separately: or alongside their matching pot, wrapped well, with padding around glass lid handles
  • Heavy items on bottom: cast iron and Dutch ovens go in their own small box so the weight doesn't crush lighter pieces
Melanie Morris
Author

Melanie Morris

Melanie Morris is an editor, writer, and one of the sharpest moving experts at HireAHelper. Seven years spent answering readers' toughest questions and demystifying a process most people dread has made her an authority on what movers actually need to know — and how to explain it without the jargon. Her own relocations around the Southwest and up and down the West Coast give her the firsthand experience to back it up. Whether you're crossing the country or just moving down the block, Melanie makes sure the advice you get is accurate, trustworthy, and easy to act on.

Supplies Needed to Pack Pots and Pans Safely

Before you start wrapping and boxing your cookware, you’ll want to gather the right materials. Using the proper supplies helps protect your pots, pans, and lids during transport and makes packing (and unpacking) quicker, cleaner, and less stressful.

Let's look at what you’ll need to pack your pots and pans the right way:

  • Medium-sized moving boxes: This size is typically strong enough to handle the weight of cookware without breaking apart or becoming too heavy to carry when full
  • Packing paper or newsprint: Great for wrapping stainless steel pots, nonstick pans, and separating nested sets without scratching their surfaces
  • Bubble wrap or foam padding: Best for glass lids, ceramic pans, Dutch ovens, or enameled cookware that needs more protection
  • Dish towels, oven mitts, or soft linens: These can double as padding and help fill gaps between stacked pots or pan handles
  • Packing tape: Seals your boxes securely, which is especially important for heavier sets of pots and stacked pans
  • Permanent marker: Use it to label boxes with “Kitchen pots and pans,” and flag anything fragile or heavy
  • Stretch wrap or plastic bags: Helpful for bundling lids with their matching pots and keeping sets of small pans together

You can find these items at local hardware stores, big-box retailers, or moving supply outlets. Many people also reuse what they already have at home — just be sure whatever you use is clean, strong, and protective.

Step-by-Step Guide for Packing Pots and Pans

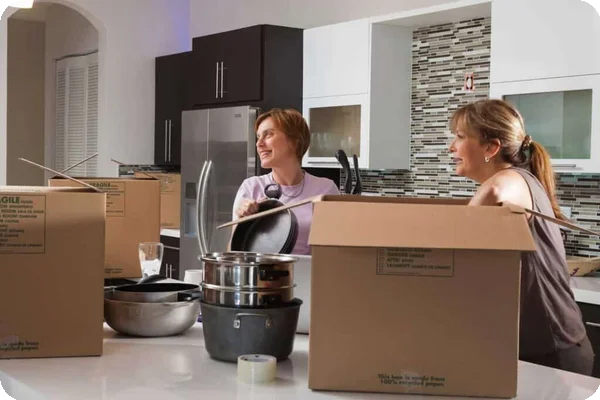
Two women lean against a kitchen countertop. There are several boxes as well as pots and pans on the counter as well.

With your supplies ready, it’s time to get hands-on. The goal is to protect your pots and pans from banging into each other, shifting inside the box, or damaging fragile coatings and lids.

Here’s how to pack pots and pans for a move like the pros in 10 easy steps:

  1. Clean and dry everything: Make sure every pot, pan, and lid is clean, dry, and residue-free
  2. Sort by size and type: Group large stockpots with other oversized cookware and small pans with each other. Keep delicate or nonstick items separate from cast iron or metal
  3. Wrap each item individually: Use packing paper or dish towels to completely wrap every pot and pan, including lids. Pay special attention to handles, spouts, and surfaces that could scratch
  4. Nest with care: Nest similar-sized pots and pans together, placing padding between each piece. For example, if you’re stacking frying pans, use a towel or paper between each one to prevent scraping
  5. Line the box: Add a cushion of crumpled paper, foam padding, or even folded kitchen towels to the bottom of your box before placing anything inside
  6. Place cookware strategically: Heavier items, such as cast iron or Dutch ovens, should go at the bottom of the box. Layer lighter pans, saucepans, or nonstick pots on top
  7. Separate and wrap lids: If you’re moving with glass lids, wrap each one separately in bubble wrap or foam. Store them vertically, side by side, or in a well-padded lid-only box
  8. Fill all gaps: Use extra towels, oven mitts, paper, or even silicone trivets to fill gaps between your pots and pans. A snug box means less jostling during the move
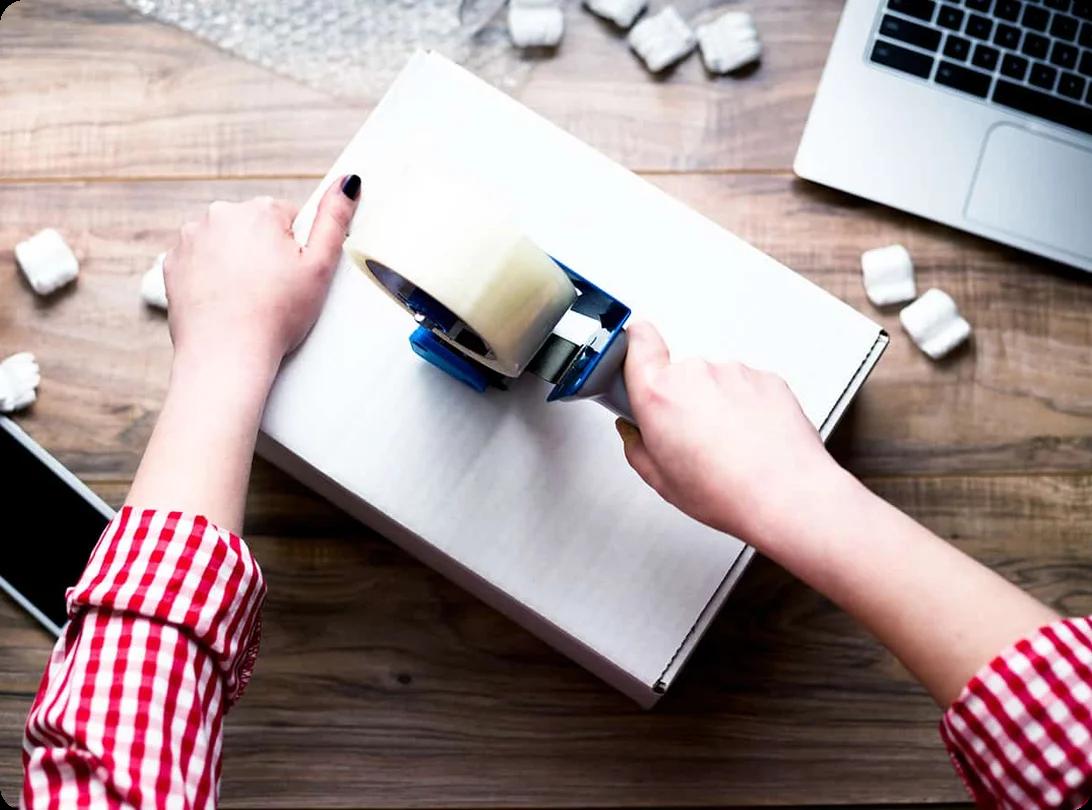
  9. Seal and reinforce the box: Use high-quality packing tape to close and reinforce the bottom and top seams. Reinforce the sides if you’re packing a heavier load of cookware
  10. Label clearly and completely: Label each box and note if fragile items like glass lids are included. Add “Heavy: Lift with care” if your box is on the dense side

Taking your time here means fewer dings, no mystery boxes, and way less frustration in the unpacking phase.


How to Transport Pots and Pans Safely

Once your cookware is packed, the next step is figuring out how to transport it safely from point A to point B. Even well-packed pots and pans can be damaged if they aren’t handled with care.

"Unbox your daily cookware first — a frying pan, a medium pot, an oven pan, a lid or two, and a spatula. That will get you through your first few meals."

Here are some essential tips for moving with pots and pans:

  • Keep cookware boxes upright: Store boxes on their base to keep stacking pressure off fragile lids and prevent pans from shifting and tipping.
  • Don’t stack furniture on top: Avoid crushing boxes filled with heavy or oddly shaped pots and pans by placing them on top of softer items, such as bedding or clothes.
  • Use padding in the vehicle: Secure your cookware boxes with moving blankets or straps so they don’t slide around the back of a truck.
  • Mind your materials: Extreme heat can warp nonstick pans or melt plastic handles. Avoid leaving cookware in hot storage pods or unventilated trailers for long periods.

If you're hiring movers through HireAHelper's marketplace, you can include handling notes so they know which boxes need a gentler touch.


Unpacking and Organizing Your Pots and Pans

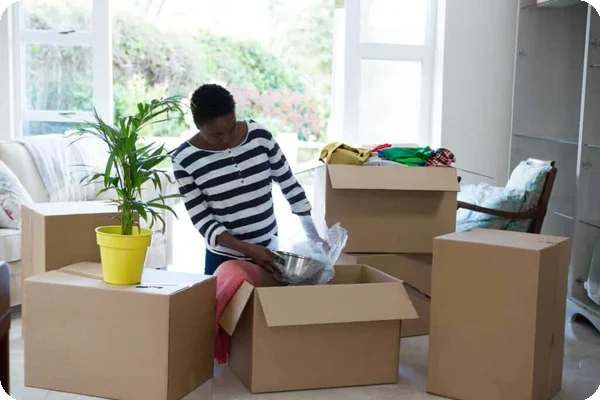
a woman unpacks a bubble wrapped pot from a box

Once you arrive, the kitchen is usually one of the first rooms people want to set up. The trick is to start with the most frequently used items and wait to unpack the rest. For example, you probably don’t need your slow cooker right away, but you likely do want to know where your espresso machine and pasta pot are.

Here’s how to quickly and safely unpack your pots and pans after moving:

  • Start with the basics: Unbox your daily cookware first — a frying pan, a medium pot, an oven pan, a lid or two, and a spatula. That will get you through your first few meals.
  • Inspect for damage: Look for chips in enamel, scratches on nonstick pans, or broken handles before putting things away.
  • Give everything a quick rinse: Even if your pans were clean when packed, moving boxes can collect dust, lint, or cardboard residue.
  • Organize by use and access: Place frequently used pots and pans in easily accessible cabinets. Group lids in a drawer or rack and place rarely used or oversized items on shelves.

Remember: you don’t need to unpack everything right away. However, setting up your essential cookware first means you can start cooking real meals sooner, and that’s always a win.

Learn more on our How to Pack Hub.


FAQs About Moving Pots and Pans

Recent Articles

An artist carefully packing brushes, paints, canvases, and art tools into protective boxes for a move

How to Pack Art Supplies for Moving

Packing

Packing an art studio can feel more complicated than packing the rest of the house. Instead of neatly shaped household items, you may be dealing with paints, delicate brushes, unfinished work, fragile ceramics, and... Read More

Mover packing a cardboard box during a move

How Long Does Professional Packing Take?

Packing

Professional packing can take anywhere from 2 hours for a small apartment to a full day or more for a larger home. The actual timeline depends on how much you own and how prepared you are when the crew arrives. In... Read More

Stack of cardboard moving boxes with bubble wrap and packing tape

Do Packers Bring Their Own Boxes and Supplies?

Packing

Packers do not always bring their own boxes, including when you book labor-only packing help directly or through HireAHelper. What supplies they bring depends on the type of packing service you choose. With... Read More

Toiletries and props arranged on a bathroom washbasin

How To Pack Bathroom Items for Moving

Packing

The bathroom can be tricky to pack. It’s one of the last rooms you get to because you use it regularly, and it’s filled with items that can break or spill, but there are techniques to make this area easier to move.... Read More

Woman keeping boots in a cardboard box at home

How to Pack Shoes for Moving: A Step-by-Step Guide (2026)

Packing

You might think shoes are easier to pack than glassware or your TV, but if you just throw them into a large bag without following the proper steps, you might end up with scuffed leather, bent heels, or a moldy pair... Read More

Patio furniture cleaned and wrapped for moving

How To Pack Patio Furniture for Moving

Packing

Patio furniture tends to be heavy, collect dirt from outside, and have irregular shapes that don’t fit well in standard boxes. But packing them for a move isn’t impossible with the right process. If you clean each... Read More