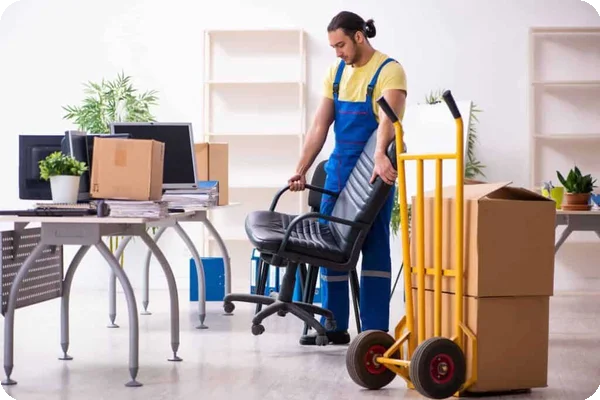
If you’ve already taken the chair apart, start with the seat or backrest (whichever is largest) and lay the other components nearby.
3. Wrap It
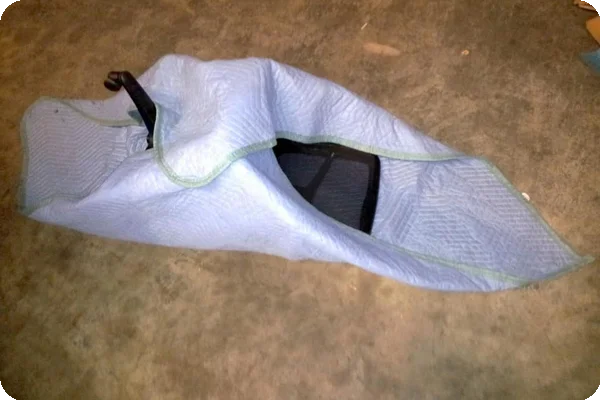
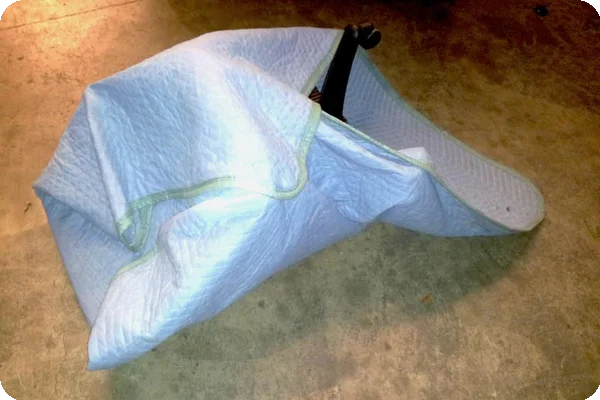
This is the step where a lot of people go wrong. Just tossing a blanket over the chair and hoping for the best can easily result in a torn armrest or exposed caster.
Instead, do this:
- Fold the blanket's sides over the chair first, snugly wrapping the arms and seat.
- Pull the top corner down over the backrest.
- Lift the bottom portion of the blanket over the chair’s base, tucking the excess between the legs.
If your chair has sharp angles or fragile adjustments — like a lumbar knob or headset mount — add a layer of bubble wrap before covering with the blanket.
4. Pull Up the Corner
Now comes the detail that separates a loosely wrapped chair from one that holds together all the way to your new place. Take the bottom corner of the blanket (now near the floor, between the chair's legs) and pull it up over the seat.
Tucking this piece in tightly helps anchor the wrap and covers the underside — an often overlooked area that's vulnerable to scrapes and pressure points during a move.
5. Secure It in Place
Once your chair is swaddled, it’s time to lock that cushioning and protection in. Use packing tape or stretch wrap to hold everything tight.
- Packing tape: Wrap it fully around the bundle so it sticks to itself, not to any fabric, plastic, or leather.
- Stretch wrap: Start at the base, work your way up, and overlap as you go. Stretch wrap also adds some waterproofing if you're moving during bad weather.
As Kevin advises, “Tape doesn’t stick well to pads — remember to let the tape stick to itself, not the chair.”
Double-check that no parts are exposed. The most common place people miss? The wheelbase.