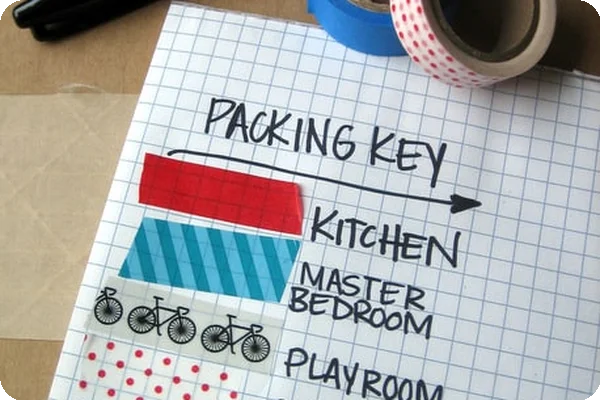
Washi tape is also an option and comes in hundreds of colors and patterns, but you may need to use more than one “row” of it to get the same thickness as other kinds of tape.
Step 3. Use Numbers for Boxes in Each Category
Take the color-coding process to another level by adding numbers and the contents to each box with a marker or sticker. This helps you create a detailed legend that streamlines your move and doubles as inventory.
For example, if the kitchen is labeled yellow, you might number your boxes Yellow 1 through Yellow 6. Yellow 1 could contain dishes, while Yellow 2 holds pantry items. This way, you’ll know exactly what’s in each box at a glance, and it’ll be easier to notice if a box is missing during unpacking.
Step 4. Mark Your Boxes
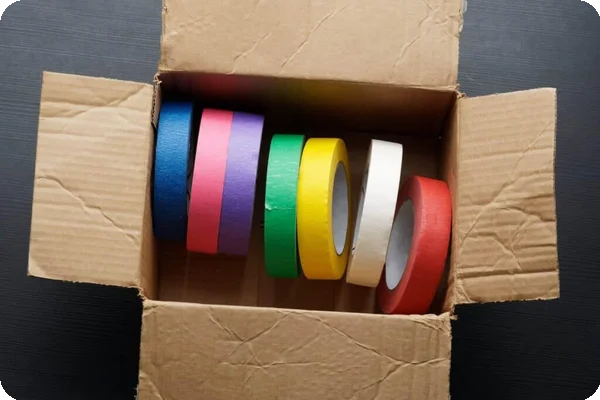
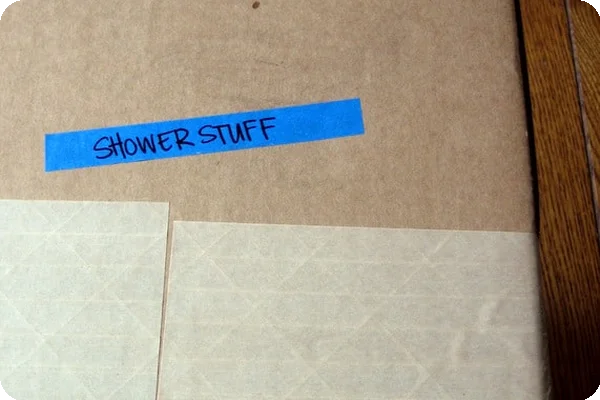
Once you've assigned each room or zone a color, you can start packing and marking your boxes room by room. To clearly label each box with its designated color, add a piece of duct tape on each side, or label it with a colored marker or sticker. Avoid marking the tops of boxes, as the labels will be hard to see when boxes are stacked in the moving truck.
To stay extra organized, include a short list of contents on each box or add an additional label with item details. This helps during unpacking and makes it easier to spot missing items.
Step 5. Create a Legend for Your Movers
Create a clear legend to explain your color-coding and numbering system to your movers. If you've assigned numbers to boxes, be sure to include them in the legend alongside the color-codes. Place the legend in a visible spot, such as near the front door, so everyone can easily reference it on moving day. Keep it simple and easy to understand for a smooth moving process.
Here's an example:
| Color | Room | Boxes |
|---|
| Yellow | Kitchen | 1-6 |
| Blue | Bathroom | 7-10 |
| Green | Living Room | 11-19 |
| Orange | Bedroom 1 | 20-24 |
Step 6. Inform Your Crew
Let your moving team know about your color-coding system ahead of your move. You could share a hard copy or photo of your legend along with any additional instructions. Providing this information in advance helps ensure everyone is on the same page and increases efficiency. If friends and family are helping you with the move, send them a copy, too. Even better, get them to help with the packing!
Step 7. Create Signs to Guide Your Crew
Provide coordinated signs around your home to help your movers place your belongings in the right place in your new home. For example, if you've assigned the kitchen the color yellow, write "kitchen" in yellow marker on a piece of paper and tape it above the kitchen door. Visual cues like this can help streamline your move by reducing confusion and speeding up the unpacking process.
Step 8. Dedicate a Zone for Unloading or Furniture Building
Assigning an unloading and furniture-building zone prevents clutter, keeps walkways clear, and speeds up assembly. It protects your space and helps everyone know where to focus their efforts. Having a dedicated area makes the move-in process safer, faster, and way more efficient.