How to Pack Art Supplies for Moving

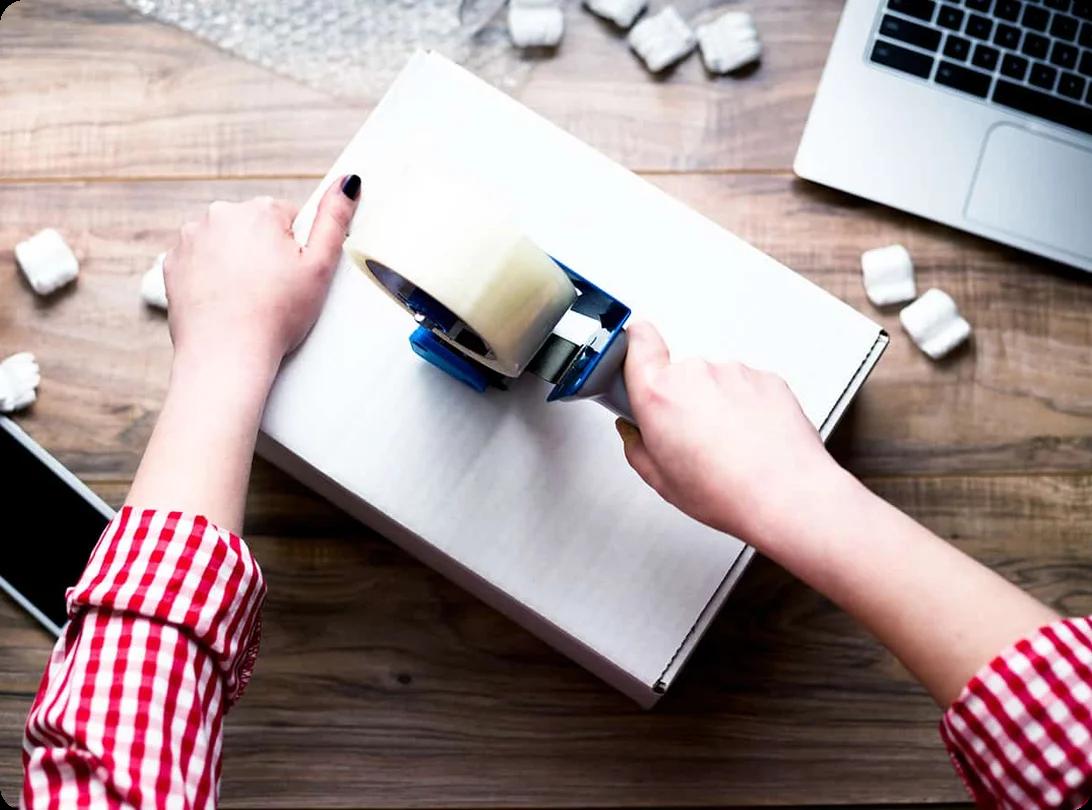
An artist carefully packing brushes, paints, canvases, and art tools into protective boxes for a move

Packing an art studio can feel more complicated than packing the rest of the house. Instead of neatly shaped household items, you may be dealing with paints, delicate brushes, unfinished work, fragile ceramics, and expensive electronics, all of which require different care. However, when you sort your supplies by material and pack fragile, messy, or expensive items with extra care, the move is easier, and your new studio comes together faster.

HireAHelper has helped coordinate more than half a million moves, including jobs involving fragile, bulky, and hard-to-pack belongings. This guide will show you how to organize, pack, and transport your art supplies without losing track of the tools you use most.


Last updated: Jul 20, 202614 min read
Lauren Thomas
Written byLauren Thomas

Key Takeaways

  • A quick studio cleanout can save space by clearing out dried paint, damaged tools, empty containers, and supplies you no longer use.
  • Paints, inks, solvents, and other liquids are less likely to leak when they stay upright in sealed bags or plastic totes.
  • Wrap artwork in acid-free materials and keep bubble wrap from directly touching painted surfaces.
  • Check with your moving company before packing chemicals, aerosols, oil-based products, or other potentially hazardous materials.
  • Photograph valuable pieces and keep essential tools with you so you can start creating before the rest of the studio is unpacked.
Lauren Thomas
Author

Lauren Thomas

Lauren Thomas is the PR and Brand Marketing Manager at HireAHelper, where she leads all things brand, storytelling, and data journalism. With 9 years of experience across marketing copywriting, digital PR, and content marketing, she's built a career out of turning data and ideas into narratives people actually want to read.

She draws from years of experience in personal finance, insurance, and home services to help readers make smarter, more confident decisions about life's biggest expenses — moving included.

Plan Your Art Studio Move

Art studios not only contain more small, fragile, and irregularly shaped items than other rooms, but they also have supplies that can leak, react to heat or cold, or need protection from pressure, moisture, or surface contact.

Try to start sorting your studio a few weeks before the move, especially if you have a large collection or work in several mediums. This gives you time to dispose of old chemicals properly, find specialty boxes, and decide which valuable pieces may need professional packing.

You may also want to photograph your current setup. A few wide shots of your storage, worktable, lighting, and equipment placement can make it easier to recreate a functional studio after the move.

Declutter and Inventory Your Supplies

Before you start packing, it may be worth taking a quick look through your supplies and setting aside anything you no longer use. Dried-up paint, empty tubes, broken brushes, brittle markers, damaged canvases, expired adhesives, and old chemicals can all take up space you may not want to carry into your new studio. Usable supplies that no longer suit your work may be welcomed by a school, community art program, theatre group, or another artist.

However, hazardous products require more care to get rid of. Paints, solvents, and similar materials may need to go to a local household hazardous waste facility rather than into the garbage or down a drain.

Once you know what is coming with you, create a simple inventory. You could use a spreadsheet, a notes app, or photos of each box before sealing it.

Helpful details to track include:

  • The box number
  • The type of supplies inside
  • Valuable or fragile contents
  • Works in progress
  • The room or storage area where the box belongs

Color-coding can make this even easier. For example, blue labels might identify painting supplies, while yellow labels mark photography equipment.

Keep works in progress separate from completed pieces. It may also help to scan loose reference images, articles, or inspiration boards so fewer papers need to make the trip.

Gather Your Packing Materials

Because art supplies come in so many shapes, sizes, and materials, a few different types of packing supplies can make the job easier. You may already have useful padding at home, such as clean towels, pillowcases, soft clothing, tissue paper, or sturdy storage containers, which can help cut down on what you need to buy.

Useful packing materials include:

  • Sturdy cardboard boxes: Strong boxes made for moving are less likely to tear when loaded with books, tools, and containers. Specialty picture or mirror boxes can help with framed pieces. You may be able to find free moving boxes, although fragile supplies are usually safer in clean, undamaged boxes.
  • Crates: These work well for heavier tools and liquids because they are less vulnerable to moisture than cardboard. In some cities, you can rent plastic bins just for moving.
  • Packing peanuts: Loose fill can help keep wrapped items from shifting. Plant-based options are available, although peanuts should not be used on painted or tacky surfaces.
  • Bubble wrap: Cushion ink jars and other breakables in bubble wrap before boxing them up. The pockets of air help protect delicate art supplies from impact during a move.
  • Acid-free packing paper: Clean paper can fill gaps or protect surfaces. Make sure you use acid-free paper for art supplies so you avoid damage and ink stains you might get with things like newspaper.
  • Labels: Color-coded labels or tape make supplies easier to find and help identify fragile or temperature-sensitive boxes.
  • Plastic wrap: Shrink wrap can bundle tools, contain potential leaks, and keep loose components together.
  • Cardboard tubes: Unframed paintings or drawings can get crumpled or bent during a move. Gently roll loose artwork into cardboard tubes to reduce the likelihood of damage.
  • Picture or mirror boxes: These boxes provide a better fit for framed artwork and stretched canvases.

Our moving box price comparison can help you decide which supplies are worth buying and where you can save.

How to Pack Art Supplies by Category

Art studios are stocked with a wide range of tools and materials depending on your discipline. We asked experts how to pack various art supplies, whether you specialize in painting, needlework, pottery, or woodworking.

Brushes, Pencils, and Drawing Tools

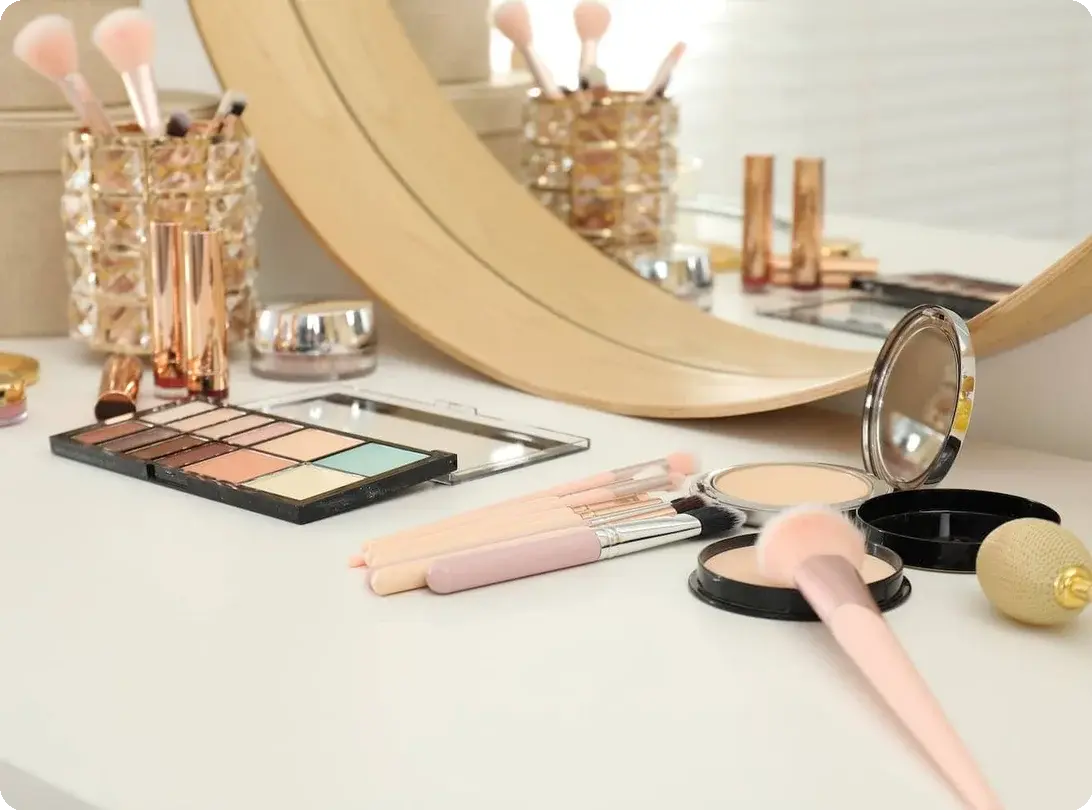
What to watch out for: Brush bristles can lose their shape, and pencils, charcoal, and pastels may break or smudge if they shift around. Giving brushes a good clean and letting them dry completely before packing can also help prevent leftover paint or solvent from transferring to other supplies.

How to pack: Group brushes by size and loosely secure the handles with an elastic band. A brush roll, pencil case, cardboard sleeve, or rigid container can protect the bristles without crushing them.

Place pencils and markers in cases with their caps secured. Charcoal and pastels are safer in rigid containers with tissue paper or thin foam between the pieces. Avoid leaving loose drawing tools at the bottom of a larger box, where they could break under other supplies.

Paints, Inks, and Liquid Mediums

What to watch out for: Paint, ink, liquid clay, slip, solvents, and mediums can leak even when their containers appear closed. Some products are also flammable or may not be accepted by your movers.

Paints and mediums can be sensitive to freezing temperatures, high heat, and direct sunlight. Since the recommended temperature range varies by product, the manufacturer’s label is the best place to check. For especially temperature-sensitive supplies, traveling in a climate-controlled vehicle may be a better option than an unheated moving truck.

How to pack: Wipe the rims of jars and bottles before tightening the lids. Place a small piece of plastic wrap over the opening before replacing the cap when the container allows it. Each container can then be placed in a sealable bag to help contain leaks.

Glass jars are usually safest when they stay upright in a divided box or plastic tote with some padding between them. Tubes can be gathered in sealable bags or small bins to keep them contained.

Canvases and Finished Artwork

What to watch out for: Canvas surfaces can be marked by newspaper ink, plastic, packing peanuts, or anything that sticks to the paint. Frames and glass also need protection from pressure and impact.

How to pack: Cover the front of a canvas with glassine or another acid-free paper. Add cardboard corner protectors, followed by plastic or bubble wrap with the bubbles facing outward, away from the artwork.

If the art is framed, first do the same as with a canvas and cover the front with packing paper or glassine. Then pad the frame's corners and wrap the whole piece in bubble wrap. A picture box gives it a little more protection, especially if you keep it standing upright in the truck instead of laying it under other items.

For anything especially large, fragile, or valuable, having it professionally packed may be worth it. Just make sure fabric and other packing materials do not sit directly against the painted surface.

Our guide to packing an oil painting covers the additional care required for textured or slow-drying work.

Ceramics, Sculptures, and 3D Art

What to watch out for: Handles, limbs, spouts, wings, and other protruding details are often the first parts to break. Painted surfaces may also chip or stick to certain packing materials.

How to pack: Wrap the piece in clean paper or foam, adding a little more padding around handles, limbs, or other delicate parts. Try not to pull bubble wrap tightly over anything that sticks out to give those areas more room and make them less likely to snap.

From there, place each piece in a snug box with cushioning on every side. Larger sculptures may benefit from a double-box method, with the wrapped piece packed in one box and that box cushioned inside a second.

Soft cloths can protect figurines with delicate finishes. Avoid placing loose packing peanuts directly against surfaces that may become tacky in heat.

Hazardous Materials and Chemicals

Movers may not be able to take some of the chemicals stored in an art studio, especially anything flammable or hazardous. That can include products like acetone, turpentine, butane, aerosol paint, spray adhesives, fixatives, oil-based solvents, and some resins.

"Before wrapping a valuable piece, take a few photos from different angles…That way, you have a clear record of its condition before the move."

Ask your movers about their prohibited-items policy before packing any chemicals. You can also review this list of items that are not allowed on a moving truck.

Old or unwanted chemicals may qualify as household hazardous waste. Your local waste department can tell you where to take them. Avoid pouring solvents, paints, or chemicals down a drain, onto the ground, or into a storm sewer.

If you’re taking any of these products with you, the original labeled container is usually the safest option. A sealed bag and an upright plastic tote can help contain leaks, and it’s worth keeping different chemicals separate. Try to keep the tote out of direct sunlight and away from very hot or cold areas during the trip.

Packing Digital Art Tools and Electronics

Digital art relies on equipment that’s often fragile, expensive, and bulky. Drawing tablets, studio lighting, 3D pens, and other tools need careful handling to arrive at your destination in good condition.

Drawing Tablets and Photography Equipment

Cameras and drawing tablets can be some of the most expensive items in an art studio, and they do not take kindly to pressure or bumps along the way. Their original cases are ideal when you still have them, but soft wrapping and a snug box can work well too.

Cameras

What to watch out for: Lenses are especially vulnerable, and batteries, memory cards, and cables have a habit of disappearing during a move.

How to pack: A hard-shell camera case with fitted foam is your best bet. If you do not have one, wrap the camera body and each lens separately in a microfiber cloth or another soft fabric, then add a layer of bubble wrap. A small padded box can give everything a little more protection before it goes into a larger moving box.

Remove batteries when recommended by the manufacturer. Keep memory cards, chargers, and other small accessories together in a labeled pouch.

Wacom Tablets and Drawing Devices

What to watch out for: Pressure against the screen or drawing surface can damage the tablet even when there is no visible crack.

How to pack: Disconnect the cables and place the stylus in its case. Cover the tablet with a microfiber cloth, then wrap it in bubble wrap. The original box, a protective laptop sleeve, or a snug inner box can help keep pressure off the surface.

Place the protected tablet in a larger box with padding on every side. Avoid packing anything heavy above it.

Studio Lighting and Scanners

Studio electronics often include several detachable or breakable parts, from bulbs and stands to glass scanning beds. Taking the equipment apart where possible, keeping accessories together, and packing each component to prevent movement can reduce the risk of cracks, bends, and missing pieces.

Photography Lighting

What to watch out for: Light stands can bend, bulbs can break, and softboxes may tear or crease.

How to pack: Collapse or disassemble each stand and keep its hardware in a labeled bag. Wrap metal components so they cannot scratch other equipment. Fold softboxes neatly and place them in their storage bags or clean pillowcases.

Wrap lights separately and pack them in their original cases or padded boxes.

Scanners

What to watch out for: Scanner glass and internal moving components can be damaged by impact.

How to pack: Remove cords and adapters, and engage the transport lock when the scanner has one. Place a soft cloth between the lid and scanning bed, then secure the lid with painter’s tape.

From there, you can wrap the scanner in bubble wrap and place it in a box with padding on every side. Label the box so it remains upright.

3D Pens

What to watch out for: The nozzle may bend or break, and filament can become brittle or absorb moisture.

How to pack: Let the pen cool completely, unplug it, and wrap it with extra padding around the nozzle. Keep tips, stands, and cables in a labeled bag. Filament can go into resealable bags with desiccant packs to absorb excess moisture.

Light Tables

What to watch out for: Thin panels can crack or bend when pressure is placed on them.

How to pack: Remove the power cord and protect the corners with foam or folded cardboard. Wrap the table in bubble wrap and place it in a snug box with cushioning around the edges and surfaces.

Studio Lamps

What to watch out for: Bulbs can break, and the lampshades can crease or collapse.

How to pack: Start by removing the bulbs and wrapping each one separately. You can then wrap clean lampshades in packing paper and nest them in a box without placing anything inside the shades.

Mark the carton “Nothing On Top” to reduce the chance of you or your movers stacking something on top and crushing the lamps.

How to Pack Large Art Equipment

Large equipment may need to be disassembled, wrapped, and treated more like furniture than a box of supplies. Check the manufacturer’s instructions before taking apart equipment with motors, wiring, or calibrated components.

Easels, Pottery Wheels, and Heavy Tools

Large studio equipment usually needs more preparation than smaller supplies. Some pieces can be collapsed or disassembled, while heavier equipment may need a dolly, moving blankets, or a sturdy crate to keep it stable during loading and transport.

Easels

What to watch out for: Hinges, clamps, and pointed sections can scratch nearby belongings or become bent.

How to pack: Collapse or disassemble the easel when possible. Place screws and removable hardware in a labeled bag and attach it to the wrapped frame.

Small easels may fit in a padded box. Larger ones can be covered with moving blankets and stretch wrap, like other large appliances, and then secured upright with the rest of the furniture. Try to avoid loading heavy items on top.

Pottery Wheels

What to watch out for: Motors, foot pedals, wheel heads, and leveling components can be affected by impact or repeated vibration.

How to pack: Remove detachable components according to the manufacturer’s directions. Wrap and label each part separately, especially the cords and connections.

The wheel may be packed in a foam-lined crate or secured upright with thick padding and straps. A heavy wheel may be easier to move with a dolly and a second person rather than lifting it by hand.

Soldering Irons and Heavy Tools

What to watch out for: Soldering tips and other narrow tool components can bend, while sharp edges may puncture a box.

How to pack: Let heated tools cool fully before coiling and securing the cords. Cover delicate tips with foam or a protective cap, then place each tool in a padded case or small box.

Pack dense tools in smaller cartons so the boxes remain manageable. Empty spaces can be filled with paper or towels to keep the tools from shifting.

Protecting and Transporting Your Art

Once everything is wrapped, there are still a few things to consider before it goes into the truck. Valuable pieces may need to be photographed for your records, and it helps to know what your insurance would cover if something were damaged.

Where things are placed matters too. Artwork tends to travel better upright, liquids need their own space, and fragile boxes should be tucked somewhere they will not get bumped by shifting furniture. Keeping a few favorite supplies with you also means you can get back to a project without digging through every studio box first.

Documenting and Insuring Valuable Pieces

Before wrapping a valuable piece, take a few photos from different angles. Include close-ups of signatures, serial numbers, frames, corners, and any existing marks or damage. That way, you have a clear record of its condition before the move.

Receipts, appraisals, and inventory notes are worth keeping close by rather than packing them in the truck. You may never need them, but they can make things much easier if something is lost or damaged.

Insurance Options

It’s generally a good idea to check what your homeowners or renters insurance covers during a move if you have especially valuable items. Coverage can vary, especially while movers are handling your belongings. If you have artwork or equipment that would be difficult to replace, your insurance provider can tell you whether you need extra coverage for the trip.

Moving help booked through HireAHelper includes basic coverage, with additional protection available in some cases. Let the crew know about any especially valuable or fragile pieces ahead of time so you can talk through how they’ll be handled and what coverage applies.

Loading and Transport Tips

The sturdier boxes and heavier equipment usually go into the truck first. Artwork, electronics, brushes, and ceramics can then be placed somewhere they won’t have furniture or boxes shifting against or stacking on top of them.

Canvases and framed pieces tend to travel better upright, tucked between flat, stable items for support. Paints and other liquids are best kept upright and away from anything that could be ruined by a leak, including paper, fabric, electronics, and finished artwork.

A small box of favorite supplies you keep off the tuck can also make the first few days in your new studio more enjoyable. You might include:

  • A sketchbook and pencils
  • A few favorite brushes
  • A small paint palette
  • A craft knife and cutting mat
  • Chargers and cables
  • Materials for your current project
  • Cleaning cloths and gloves
  • A few basic tools for hanging or assembly

Anything especially valuable or difficult to replace may be better off traveling with you as well. The same goes for important documents and items the moving company cannot take.

Frequently Asked Questions

Recent Articles

Mover packing a cardboard box during a move

How Long Does Professional Packing Take?

Packing

Professional packing can take anywhere from 2 hours for a small apartment to a full day or more for a larger home. The actual timeline depends on how much you own and how prepared you are when the crew arrives. In... Read More

Stack of cardboard moving boxes with bubble wrap and packing tape

Do Packers Bring Their Own Boxes and Supplies?

Packing

Packers do not always bring their own boxes, including when you book labor-only packing help directly or through HireAHelper. What supplies they bring depends on the type of packing service you choose. With... Read More

Toiletries and props arranged on a bathroom washbasin

How To Pack Bathroom Items for Moving

Packing

The bathroom can be tricky to pack. It’s one of the last rooms you get to because you use it regularly, and it’s filled with items that can break or spill, but there are techniques to make this area easier to move.... Read More

Woman keeping boots in a cardboard box at home

How to Pack Shoes for Moving: A Step-by-Step Guide (2026)

Packing

You might think shoes are easier to pack than glassware or your TV, but if you just throw them into a large bag without following the proper steps, you might end up with scuffed leather, bent heels, or a moldy pair... Read More

Patio furniture cleaned and wrapped for moving

How To Pack Patio Furniture for Moving

Packing

Patio furniture tends to be heavy, collect dirt from outside, and have irregular shapes that don’t fit well in standard boxes. But packing them for a move isn’t impossible with the right process. If you clean each... Read More

Cupped hands holding a colorful mix of AA, AAA, and button cell batteries

How to Pack Batteries Safely for a Move

Packing

Batteries require extra care when moving because if they’re simply tossed in a box with other items, they could easily cause a fire. If they touch coins, keys, or other metal, they can trigger a short circuit. If... Read More