How To Pack Dried Flowers for Moving: Step-by-Step
To pack dried flowers for moving, you need to ensure they stay cushioned and protected from bumps when carrying and loading them, and from the vibrations of the moving truck. Thankfully, that process isn't complicated. You can follow these simple 8 steps to keep your arrangements safe on the way to your new place.
Step 1: Prepare and Clean the Flowers
Before you start packing, make sure your flowers are clean and ready for the journey. But because they're so delicate, they can't simply be wiped down like another piece of furniture. Instead, use this method:
- Dust gently: Use a clean, soft makeup brush to wipe away dust. You can also use a blow dryer on the coolest, lowest setting.
- Check for moisture: Ensure the flowers are completely dry. Any dampness can cause mold inside a sealed box.
- Secure loose stems: For 360-degree arrangements, make sure the stems are firm in their vase. For flat arrangements, ensure no pieces are falling off the backing.
If your arrangement is very old and brittle, a light mist of specialized floral sealer can help keep the petals from shattering.
Why this matters: Cleaning prevents dust from grinding into the delicate petals during the move. Removing moisture also stops mold from growing.
Step 2: Wrap Dried Flowers in Soft Protective Material
Wrapping your flowers correctly is the best way to keep them from breaking. It's especially important to use the right materials and keep your flowers in the right orientation in this step. Here's what to do to prepare your arrangement before it goes into a box:
- Use plain, acid-free tissue paper: This acts as an extra layer to keep the flowers from degrading. It's also soft enough to protect brittle petals without crushing them. Avoid using newspapers. The ink can smudge onto your light-colored dried flowers and leave permanent stains.
- Layer the tissue: Place a few sheets of tissue paper on a clean, flat surface.
- Shield flat pieces: Lay flat designs gently on a sheet of tissue paper. Fold the soft edges loosely over the flowers to create a protective pocket.
- Wrap individual bunches: For 360-degree arrangements, gently wrap small groups of stems together. Don't pull the paper too tight.
- Protect the vase: If the arrangement stays in a vase, wrap the container separately with bubble wrap to keep it from breaking.
- Secure the paper: Use small pieces of tape to hold the tissue paper closed. Make sure the tape only touches the paper, not the flowers.
Why this matters: Dried flowers are incredibly brittle and snap easily. Wrapping them creates a soft, protective layer that stops petals from rubbing against each other or the rough sides of your moving box.
Step 3: Choose the Right Box Size and Type
Picking the right container is just as important as the wrapping itself, since a sturdy box acts as a protective shield for your delicate flowers. Here's how to choose the right box for your arrangement:
- Match the shape: Flat floral designs should rest gently on their backs in a wide, shallow box. However, dimensional, 360-degree arrangements usually sit in a vase or pot. You need to pack these upright in a tall, vertical box.
- Size it right: Choose a box slightly larger than the flowers. This leaves room for padding without letting the items slide around.
- Pick strong cardboard: Look for thick, rigid sides. Avoid using thin, damp, or damaged boxes that might easily cave in during the trip.
- Secure the bottom: Double-check the bottom flaps of the box. Add an extra strip of heavy tape so the bottom doesn't burst open.
- Use clean supplies: If you're getting free moving boxes from a local grocery store or community group, make sure they're clean and dry. Wipe out any dust or debris from inside the box.
If your arrangement is very heavy, double-box it by placing the first box inside a slightly larger second box filled with padding.
Why this matters: The right box prevents crushing and bending. If a box is too small, your flowers will get squashed. If it's too big, they will tumble and break.
Step 4: Cushion the Bottom and Sides of the Box
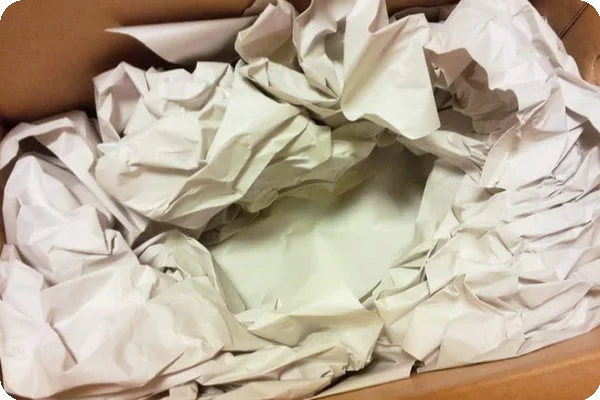
Placing a layer of padding on all sides of the box helps absorb shocks during transport in the moving truck. Think of it like making a soft bed for your vase and flowers. This step also prevents the hard cardboard from bruising the petals during the ride to your new home. Cushion your arrangement by following these tips:
- Line the interior: Tape bubble wrap to the bottom and sides of the box. Next, add a smooth sheet of tissue paper over the bubble wrap to soak up moisture.
- Create a soft nest: Crumple clean tissue paper loosely. Drop it into the box to build a thick, fluffy cushion on the bottom.
- Shape the base: Spread the crumpled tissue paper evenly across the bottom for flat arrangements. For a 360-degree vase, build the paper into a ring shape to hold the heavy container steady.
We recommend skipping packing peanuts. They shift around during a move and can easily crush brittle petals.
Why this matters: Padding stops your flowers from hitting the hard sides of the box. Without it, every turn the truck takes could snap a stem. The cushioned bottom also keeps the arrangement from sliding, which prevents the flowers from crushing themselves against the walls of the box.
Step 5: Place Flowers in the Box
Now it's time to put your arrangement inside the container. You need to move slowly to ensure no stems catch on the edges of the box. Here's how to pack dried flowers properly:
- Center your upright flowers: If you have a 360-degree arrangement and a decorative vase, place it right in the middle of the box.
- Lay flat pieces carefully: Place flat arrangements on their backs onto the tissue paper nest. Make sure the heaviest part of the stems is supported.
- Check the height: Ensure the top of the flowers or the vase sits at least 2–3 inches below the top of the box.
If you're moving in hot weather, consider placing the box inside a clean cooler. This helps regulate the temperature and protects your flowers from heat damage.
Why this matters: Centering the arrangement prevents the flowers from hitting the sides of the box if it tips. Keeping space at the top prevents the lid from crushing the tallest petals.
Step 6: Fill Empty Space To Prevent Movement
Once your flowers are inside, you should limit the empty space around them. If there's room for your items to move, they could shift and break. Here's how to keep your arrangement completely still during the drive:
- Fill gaps around the sides: Use crumpled packing paper or bubble wrap to fill empty space along the walls. For a 360-degree vase, pack the base tightly so it can't tip over.
- Cushion the top: Add a final, loose layer of tissue paper over the top. Don't press down hard. This fills the space between the flowers and the lid.
- Do a gentle shake test: Close the flaps and carefully move the box. If you hear anything sliding or thumping, add more paper until it's silent.
Why this matters: Filling the space locks the arrangement in place. It prevents the contents of the box from sliding into the walls or the lid. This absorbs the shocks from the road, keeping your flowers from snapping or crushing.
Step 7: Seal and Label the Box Clearly
Closing the box correctly is the last line of defense for your delicate arrangements. Keep these tips in mind:
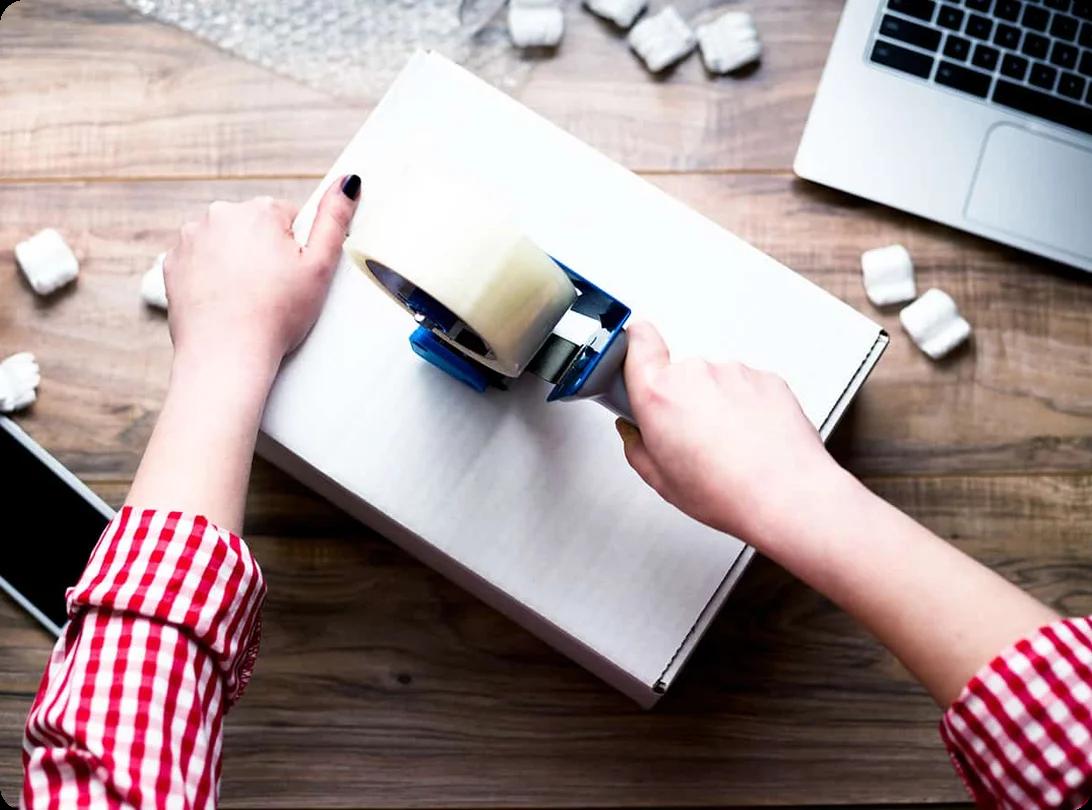
- Tape securely: Use high-quality packing tape to seal all the seams. Run tape across the middle and along the edges of the flaps.
- Label clearly: Write "Fragile" and "This Side Up" in bold letters. Note the contents, and try using color-coded labels to easily track which room the box belongs in. You should also draw arrows pointing up to show the right orientation.
- Tell your team: Let anyone helping you move know, both verbally and in writing, which boxes contain delicate flowers so they handle them carefully.
Why this matters: Sealing the box keeps dust and moisture out. Clear labels prevent people from stacking heavy boxes on top of your flowers.
Step 8: Load and Transport with Care
Now that your box is sealed, you need to figure out how to transport dried flowers safely. Be careful about where you place the box so it doesn't get crushed by heavier items. Here's how to load the box into the truck correctly:
- Carry the box gently: Lift the box smoothly and avoid sudden movements. Don't tilt or tip the container.
- Find a safe spot: Place the box upright on a flat surface in the moving truck or car. It should be far away from heavy items that might fall or shift.
- Control the temperature: Keep the box away from direct sunlight or damp areas. Extreme heat or cold can cause brittleness or moisture damage.


 Karen BodkinAug 28, 2026