Step-by-Step Guide for Packing Mugs and Teacups
Before you begin packing, wash your mugs and teacups to remove dirt and dust. Once they're completely dry, start following our 6-step guide on how to pack your mugs and teacups.
Step 1. Prepare Your Supplies
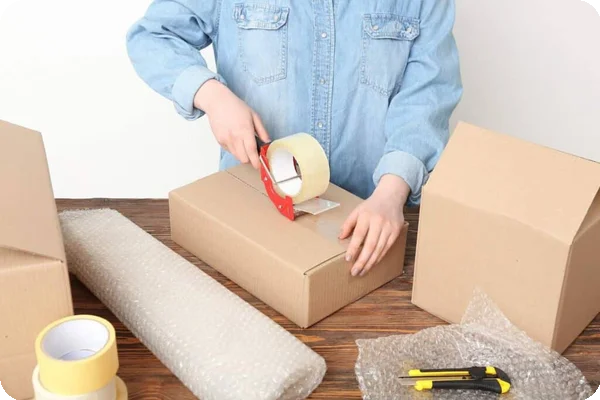
Gather your boxes, packing materials, and other supplies. If necessary, assemble the boxes and use packing tape to seal the center seam on the bottom of each one. Use old towels or sheets to create a support layer at the bottom of each box. You'll need 2 to 3 inches of cushioning to protect your breakables.
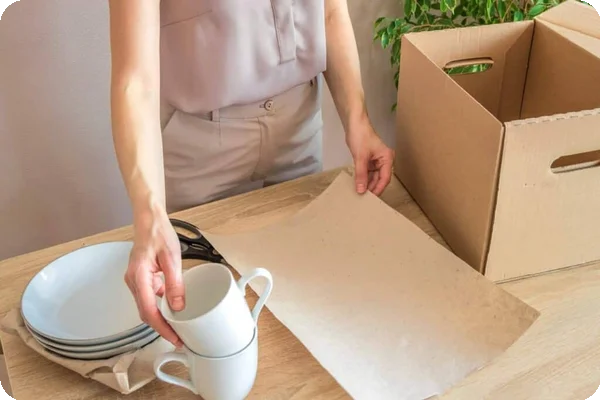
Step 2. Wrap the Mugs and Teacups
Clear off a table or another flat surface. Make sure you have plenty of packing paper, bubble wrap, tape, and rubber bands. Follow these steps to wrap each item:
- Wrap a piece of bubble wrap around the handle. Secure the bubble wrap with a small piece of masking tape. Alternatively, use a rubber band to keep the bubble wrap in place.
- Select a sheet of packing paper.
- Place the item on its side at one corner of the paper.
- Roll the item diagonally (from the starting corner to the ending corner). Make sure the edges of the paper roll under the mug or teacup as it moves.
- Use a rubber band or masking tape to secure the paper.
Repeat the same process until you've wrapped every mug or teacup in your collection.
Step 3. Insert Dividers
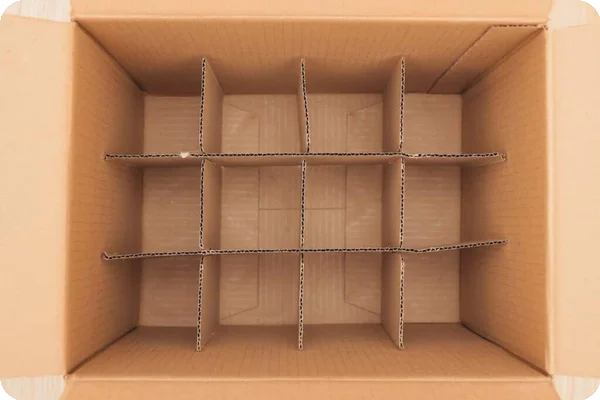
If you're using them, insert dividers into a small box. Dividers keep mugs and teacups upright, ensuring they arrive at your destination intact. If you don't have standard dividers, pieces of cardboard can work. So can clean clothing like socks, t-shirts, and pillowcases. All you need to do is make sure there's space between each cup or mug inside the box.
Step 4. Fill the Box
Place several wrapped mugs or teacups at the bottom of the box, and make sure each item is right side up. Remember to have an old towel or a folded sheet underneath for extra protection. Once every mug or cup is placed, fill in empty spaces with packing paper, bubble wrap, or packing peanuts to prevent them from shifting during transport.
Step 5. Add a Second Layer
If the box is large enough for a second layer, place a towel or folded sheet on top of the first layer of items. Insert a cardboard divider, and then repeat the steps outlined in Step 4 to fill the box.
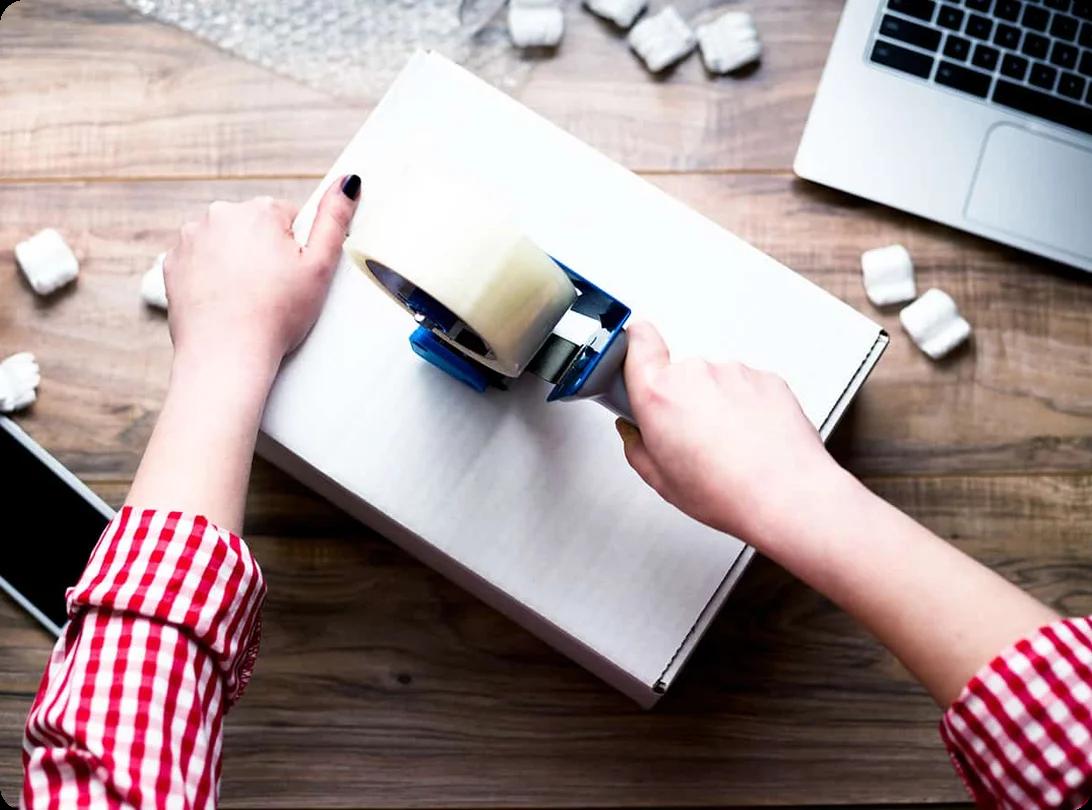
Step 6. Seal and Label the Box

Once the box is full, close the flaps and secure them with packing tape. If desired, place one strip of tape down the center and another along the side seams. Taping in both directions reinforces the box, making it less likely to break while you're carrying it. Finish by using a permanent marker to write "Fragile" and "This Side Up" on the side of each box.