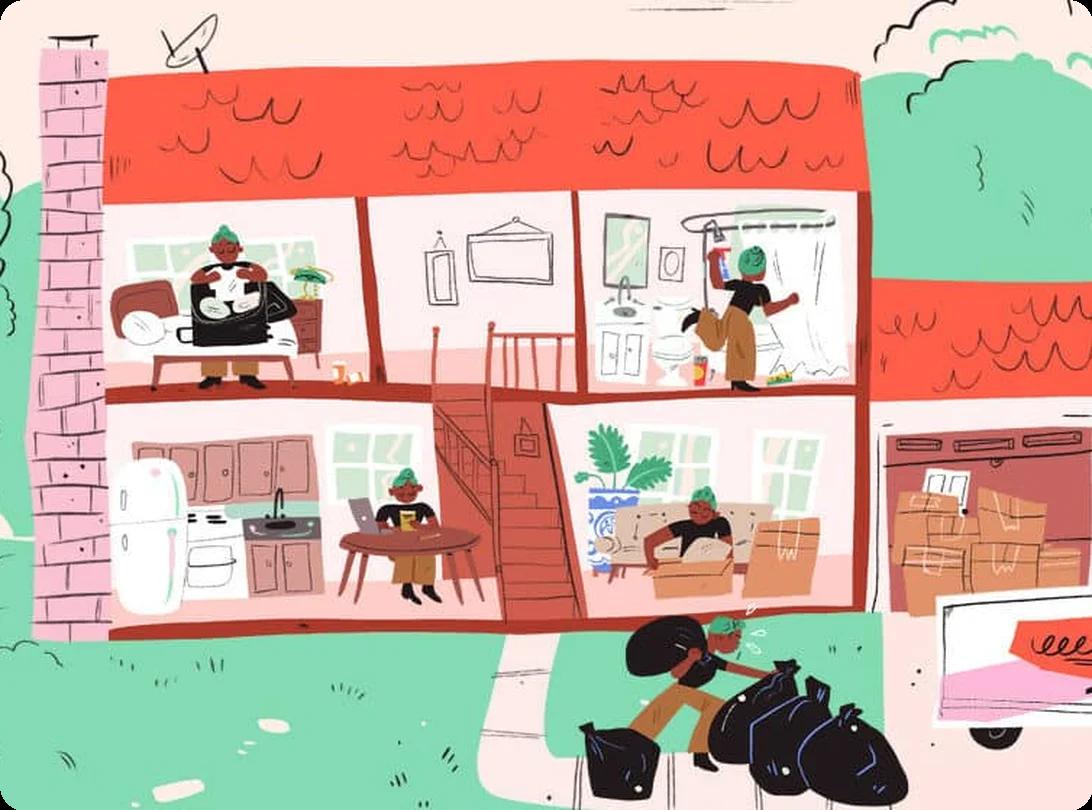
Our Pro Hack for Packing Big Shelves
Packing up a shelf that’s full of carefully placed items doesn’t have to mean starting from scratch when you unpack. This hack preserves your layout, saves time, and keeps everything organized by using one key tool: a simple numbering system.
1. Create a Numbering System
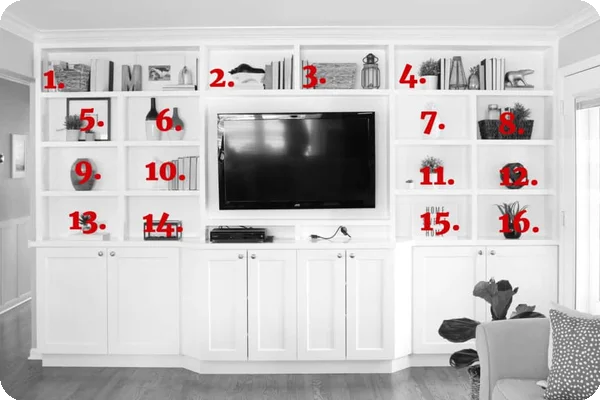
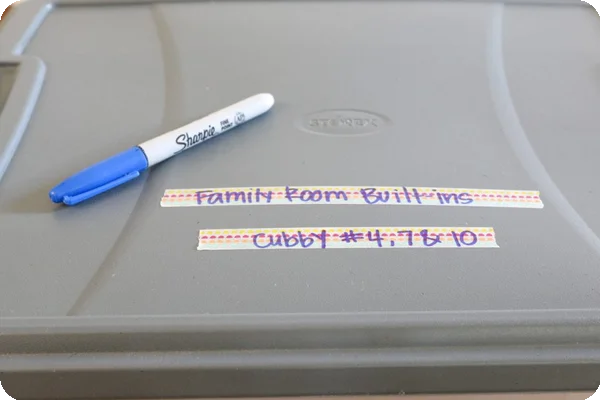
Before you remove a single item, take a picture of the shelf. This will serve as your visual guide when it’s time to reassemble everything. Next, number each section of your shelf from left to right and top to bottom using painter’s tape to mark each zone. Don't worry, painter's tape won't damage your shelves. This system helps you keep items together based on their location, so later, when you unpack box 4, you’ll know exactly where these items go.
2. Start Emptying Your Shelves
It’s best and easiest to clear one section at a time, and make sure you stay focused. Resist the urge to bounce between shelves; finishing Shelf 1 before moving to Shelf 2 will save you serious headaches later.
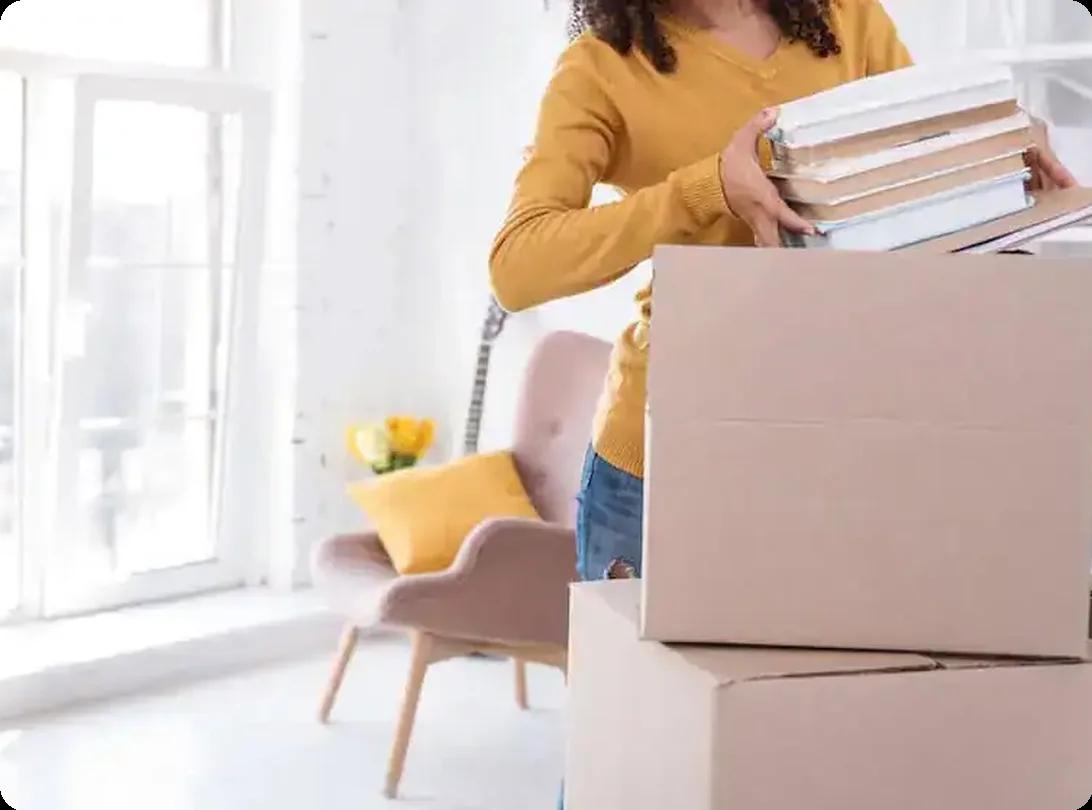
As you go, place items from each section into their own box or container. Wrap breakables individually (packing paper and bubble wrap are your best friends here), and nest lighter items around heavier ones so nothing shifts during the move. Pop small parts, such as power cables, in a zip bag, tape them to the item they belong to, or add a labeled parts bag to the box.
3. Pack and Label
When it comes to boxing things up, think smart and simple. Use smaller boxes for heavy items like books so they’re easier to lift, and save the big boxes for lighter stuff, such as decor, cushions, or soft and plush items.
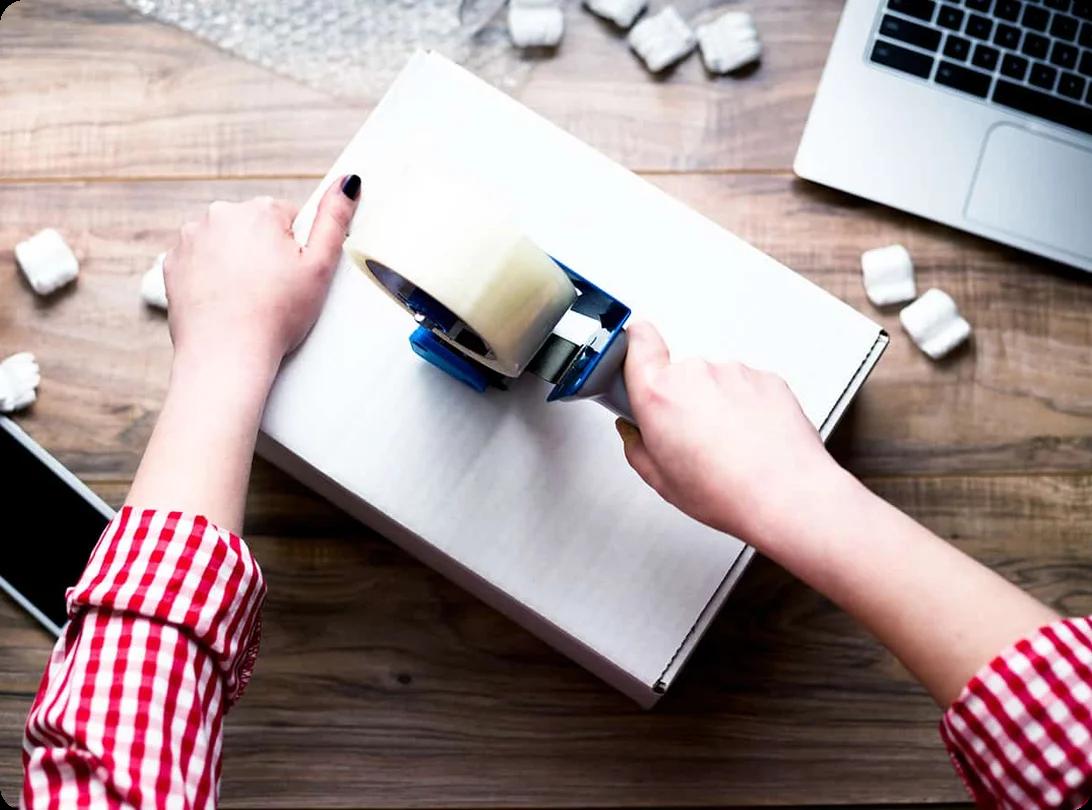
It’s also helpful to jot down a quick inventory on the side of each box. It takes just a minute and means no more guessing games when you’re unpacking. And if you’re bringing in packing help, that extra bit of detail will make their job faster and smoother, especially if you’re working with packing pros through HireAHelper’s marketplace.