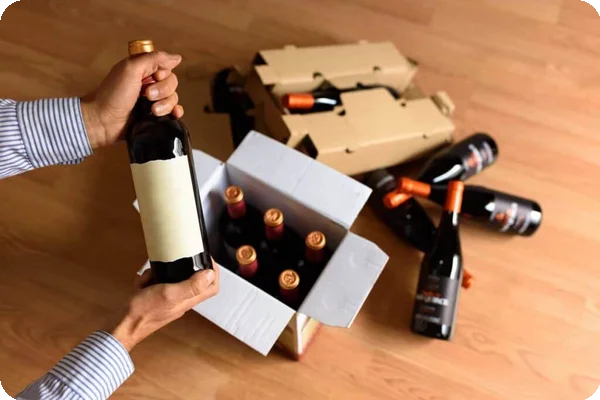
Also, take this opportunity to set aside any opened or partially full bottles — these aren’t ideal for transport and are more likely to leak or spoil.
Step 3: Wrap Each Bottle Individually
Every bottle should be wrapped separately using bubble wrap, packing paper, or specialized bottle sleeves.
If you’re using waterproof wine bags as an extra precaution, put those on your bottles before adding padding. Cushion bottles generously so that you can’t feel the hard curves of the glass through the wrapping.
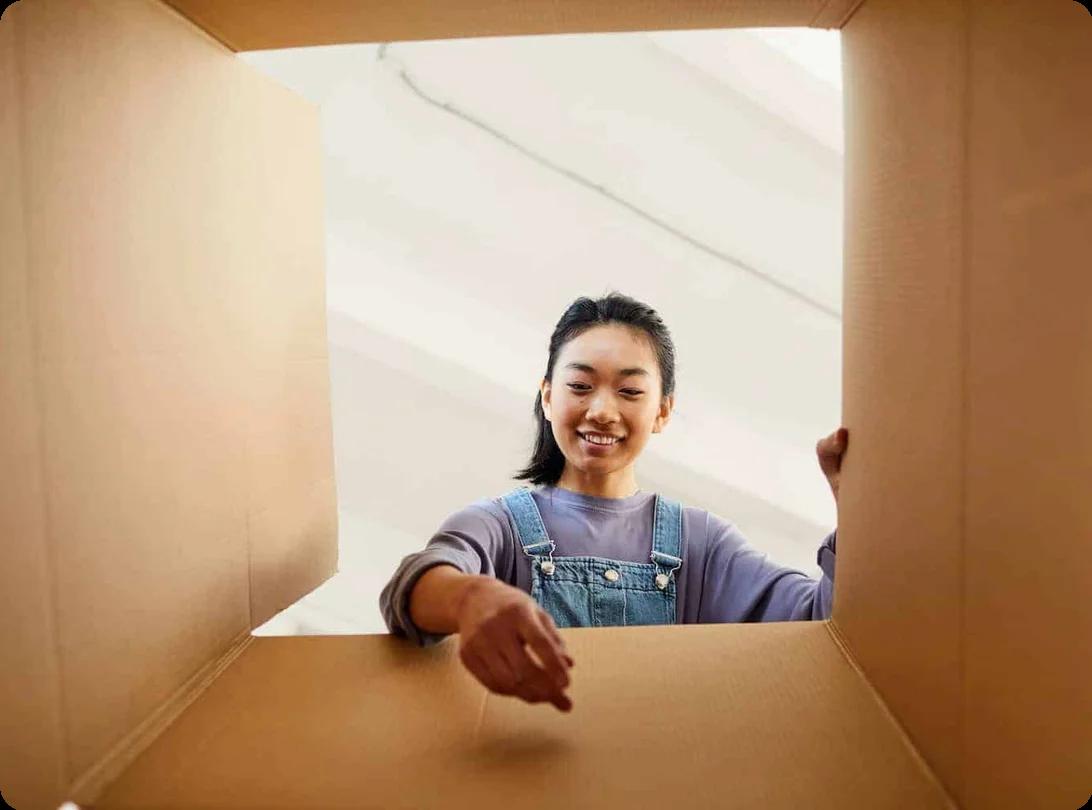
Step 4: Tuck Wrapped Bottles Into Your Boxes
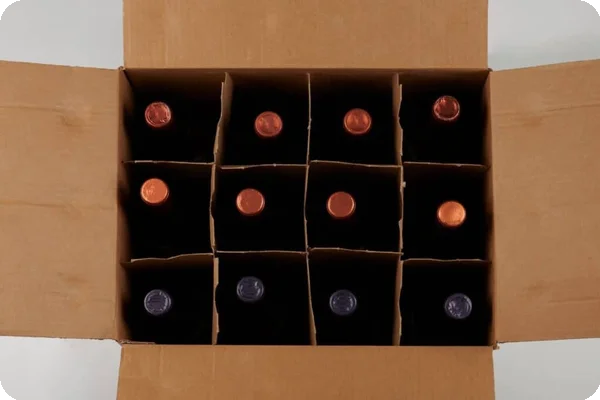
If you’re using a dedicated wine box, you can slide one wrapped bottle into each slot. If you’re using a regular shipping box or other container, only pack as many bottles as the container can securely hold without being too heavy (usually 40 lbs is the limit per box). Use cardboard slats to separate bottles.
Step 5: Fill in the Gaps
Keep wine bottles from shifting during your move by filling any empty spaces with wadded packing paper or bubble wrap. Bottles shouldn’t be in contact with each other or with the side of your shipping container.
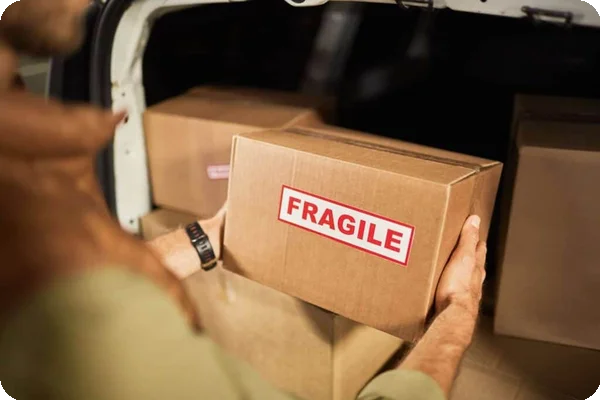
Step 6: Add Labels
Label all your boxes with warnings that are impossible to ignore. “Fragile” labels are a must, while “Delicate” and “Keep Upright”/”This Side Up” with an arrow indicating which side is up can also be helpful.