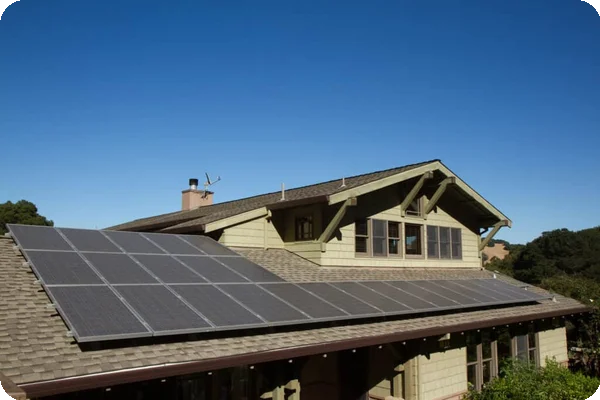
Step-by-Step Guide: How to Move Your Solar Panels
Once you decide that relocating your solar panels is worth it, you'll need to create a detailed plan that includes your timeline, budget, and necessary permits or approvals.
1. Disconnect and Remove the Solar Panels

When uninstalling solar panels, it's best to rely on the company that originally installed them, if possible. At the very least, you should hire experienced technicians who know how to uninstall, transport, and reinstall solar panels.
We recommend you avoid doing this project yourself. We're not exaggerating when we tell you it's a hassle. The panels are heavy, cumbersome, and can easily get damaged. There's also a risk of you falling off the roof or ladder. It’s not something to undertake even if you consider yourself generally handy.
Regardless of what you choose to do, it's best to understand the general procedure. Below are the 4 steps involved in disconnecting and removing solar panels to prepare them for transport:
Prepare for uninstallation
Notify the local utility company about your plan to uninstall the system. If necessary, you may also need to notify your local government, especially if permits are needed for the solar panel system removal.
Take proper safety measures
- Block off the area where the work will take place to ensure everyone's safety.
- Use the solar panel system's shutdown procedure, which involves turning off the solar inverter first, then hitting the solar disconnect switch.
- Disconnect the system by first switching off the DC disconnect (located near the inverter), and disconnecting the wires running to each solar panel.
- Switch off the AC disconnect (usually situated near the main panel), and disconnect the solar system from the home's main electrical panel.
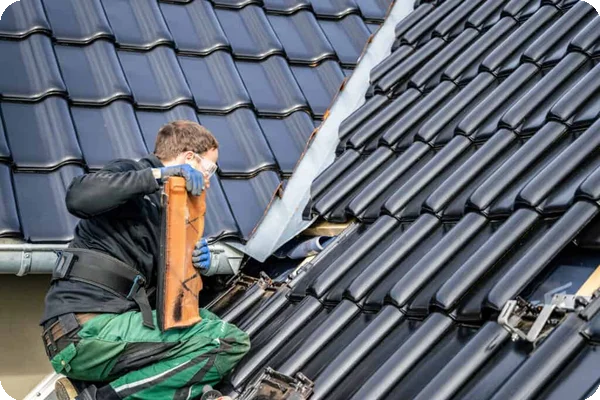
Unmount the panels
Keep in mind that solar panels are heavy and fragile. Remove the fasteners or bolts holding each panel in place, and carefully lift the panels off their mounts. You'll need to disconnect the wiring between the panels.
It's helpful to label the wires so you have an easier time with reinstallation at the new location. Use nylon zip-tie tags and a permanent marker, so even if they get wet, you can still read the writing.
Dismantle the mounting system
After removing the panels, you can finally take apart the racking system. Then, repair and seal any holes left in the roof to prevent leaks.
2. Transport the solar panels
Once again, we recommend working with a solar system company and technicians who have the right equipment for transporting the panels.
Many moving companies won't take on the liability of transporting something this specialized and delicate. But if you do end up working with movers, let them know in advance that you're planning to relocate solar panels. Verify that they're willing to transport them and they have the specialized knowledge and equipment to do it right.
To prevent damage during transport:
- Pack the solar panels in pallets vertically
- Put the first panels in the pallet bottom up
- Put the last one in front side up
- Use corner protectors and foam pads across the frames
- Place a piece of cardboard or plastic between every second panel
- Strap panels near the corners, not in the middle
3. Tackle site preparation and reinstallation
Reinstalling solar panels at a new site involves following a detailed process so the system operates efficiently and safely. Here's how to go about it:
- Start with a site assessment: Hire a professional to determine the optimal location for the solar panels.They'll consider the path of the sun and potential obstructions such as trees or buildings. They should also assess the condition and structural integrity of the roof where the solar panels will be installed.
- Finalize the design and layout: Next, your team should work on a design plan, including a layout for the solar panels, to maximize energy production.
- Get your permits in order: You must follow local regulations and get the necessary permits for the installation. Notify the local utility company that you're installing the system and find out their requirements for grid-connected solar systems.
- Prepare to install the panels: Have all necessary materials on hand, including mounting hardware and electrical components. Don't forget about safety. Everyone involved needs to wear the appropriate gear to protect themselves while working on the reinstallation.
- Complete the installation: Install the mounting hardware and solar panels, making sure everything is securely anchored, aligned, oriented, and properly fastened.
- Connect the electrical: Finally, get all the wiring connected between panels according to the design. Install the inverter and connect it to the solar panel system.Make sure the system is properly grounded.
- Test the system: Once everything is wired back up, run some system tests to make sure all the components are functioning correctly. Arrange for necessary inspections by local authorities or utility company representatives.