Even if your box doesn't require tape for assembly, consider adding some to reinforce any seams, especially if you’re loading it with bulky or heavy items.
3. Add the hanging bar to the pre-cut grooves and ensure it's secure
Double-check that the bar is in place and sturdy — the last thing you want is for it to collapse en route to your new home. You should also put all your clothing on the right kind of hanger. Remember: avoid using wire hangers, as they can bend easily and snag fabric.
4. Protect any extra-delicate articles by putting them in individual garment bags
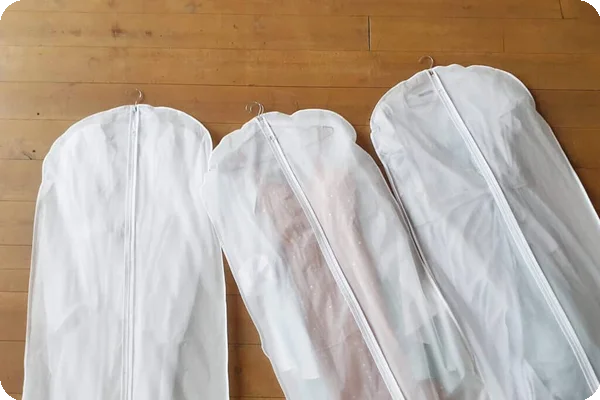
Some fabrics, like silk, are prone to snagging and can become damaged if they catch on the zipper or button of another piece, and these bags help separate them from other clothing. Garment bags are also essential if you'll be moving in wet weather or plan to store your clothing for a while before unpacking.
5. Fill the bottom of the wardrobe box
This step is to ensure the box is stabilized and will prevent it from tipping once you start hanging clothes. Good items to use to add weight to the bottom of the box are shoes or folded heavy fabrics, like towels or blankets.
6. Hang your clothing on the bar without packing them too tightly

Generally, you want to leave enough space for each item to hang loosely. Be careful not to overpack, or you may find clothing wrinkled or damaged when unpacking.
7. Close the box and label it accordingly
The more specific, the better. "Wardrobe box: work clothes" will be much more helpful when unpacking than just writing "Clothes" on the side of the box. We recommend
color-coding boxes by room to make unloading easier at your new home.
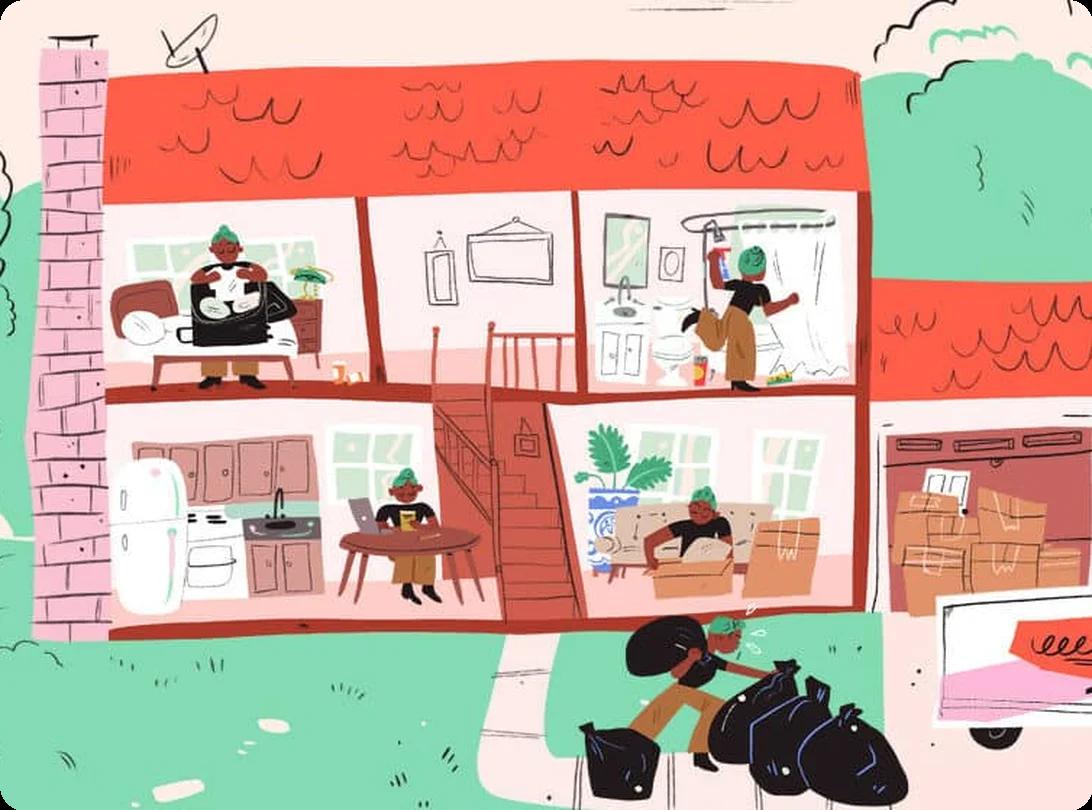
Learn more on our How to Pack Hub.