Step-by-Step Disassembly Guide
For the safest and most manageable option, taking the trampoline apart completely is the way to go. Here is an outline of each step to take when disassembling your trampoline:
- Label the main parts, so you know which side is which later.
- Remove the net and the poles.
- Take off the springs one at a time as you work your way around the mat.
- When the mat is free, undo the frame sections by loosening the remaining bolts.
- Keep everything in small groups to make reassembly less of a puzzle.
While this is a good general overview of how to get your trampoline into a manageable state, some parts of the process are more complex and require a little more in-depth explanation.
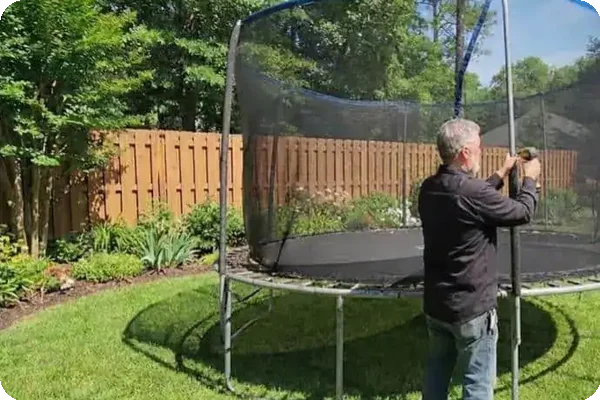
Removing the Safety Net and Poles
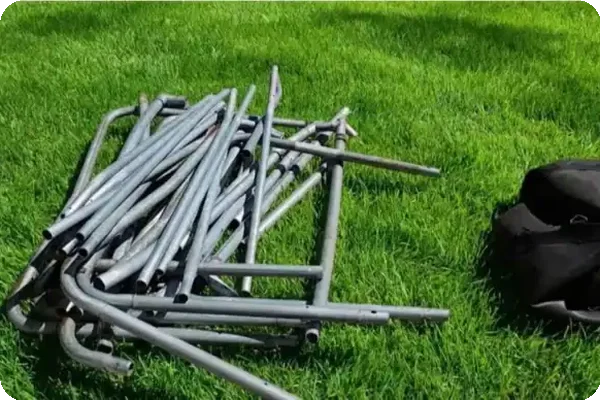
Unclip the bottom of the net first, then slide the poles out of their sleeves. Make sure you lay the poles together so they do not roll away in the yard. If you spot a worn strap or a small tear, take a quick picture so you remember to fix it before putting everything back together.
Detaching Springs and Frame Sections
A spring tool keeps your fingers safe. To remove a spring using one, hook the spring, pull toward the center, then let it come loose gently. Drop each spring into a bucket so they don’t disappear into the grass, or you accidentally step on one. Once the mat is off, you can loosen the bolts around the frame. The pieces are lighter than they look and usually stack together nicely.