How To Pack Toiletries for Moving and Easy Unpacking: Step-by-Step
To help you pack efficiently, we've broken down the process into a few steps. By following this process, you'll be able to protect everything during transit and prevent a lot of stress for yourself. Plus, you'll also make unpacking easier at your new home.
Step 1: Purge and Declutter the Non-Essentials
Before you pack a single bottle, go through everything and declutter by discarding what you don't use. Ask yourself: Is this necessary? When did I last use this? Is it expired? Would I buy it again? Would I pay to move it? If the answer is no, that item doesn't need to make the trip.
Replacing basic toiletries at your destination is often cheaper than the space and weight they take up in a box. A half-used bottle of shampoo, a nearly empty tube of lotion, or a collection of hotel samples aren't worth packing, especially if you're moving long-distance.
Use these rules as you go through each shelf and drawer to make decluttering easy:
- Toss anything expired, including medications, sunscreen, and skincare products with visible dates.
- Toss or use up anything less than a quarter full.
- Donate unopened, unexpired products to friends, neighbors, or local shelters.
- Replace inexpensive basics like soap, shampoo, and toothpaste after the move.
- Never toss or give away current prescription medications.
- Keep specialty or hard-to-find products regardless of how full they are.
Step 2: Prepare an Essentials or Overnight Toiletry Bag
An essentials bag is a separate bag that contains the toiletry items you'll need on your first night and morning in the new place. Without one, you'll end up digging through boxes trying to find your toothbrush at 11 pm.
Pack your essentials bag with the following:
- Daily hygiene: toothbrush, toothpaste, floss, deodorant, razor, soap or body wash
- Skincare and personal care: face wash, moisturizer, sunscreen, any daily skincare staples
- Hair care: shampoo, conditioner, one styling product, a brush or comb
- Health and medical: any daily medications, over-the-counter (OTC) pain reliever, bandages, or items you can't go without
- Bathroom basics: a towel, a small roll of toilet paper, feminine hygiene products if applicable
Keep this bag accessible throughout the move and load it last so it comes off the truck first. Or, better yet, you keep it with you and off the truck when you move. It should never end up buried under boxes.
Step 3: Seal and Secure Liquid Items To Prevent Leakage
Unsecured liquids are the most common cause of leaks during a move. A leaking shampoo bottle can ruin everything else in the box, and it's almost always preventable. Moving trucks shift, tilt, and hit bumps, and bottles that seemed tightly closed at home will open under those conditions.
Use these methods to seal liquids before packing:
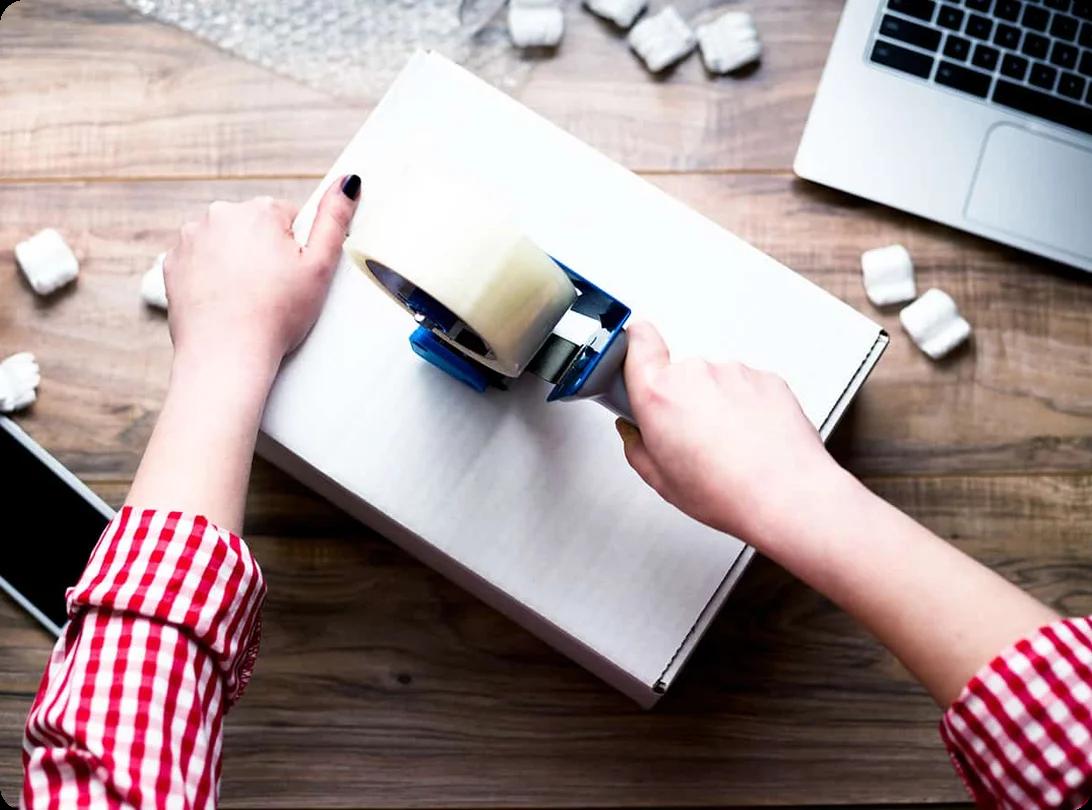
- Plastic wrap seal: Remove the cap, cover the opening with a small piece of plastic wrap, then replace the cap over it. This method works for pump bottles, shampoos, conditioners, and body wash. It takes seconds and holds up well in transit.
- Tape sealing: For bottles with screw caps, taping over the cap with packing tape or painter's tape adds a secondary seal. This works well for lotions, toners, and similar products.
- Double bagging: Place the sealed bottle inside one zip-top bag, press out the air, seal it, and place that bag inside a second one. Use this for anything that has already leaked before or has a loose cap.
- Travel-size containers: Empty partial or large bottles into travel-size containers with tight lids. This saves space, reduces leak risk, and covers any product you use daily.
Aerosol cans deserve special attention. Products like hair spray, dry shampoo, shaving cream, and spray sunscreen are pressurized. Heat can cause them to expand, leak, and sometimes rupture. Most moving companies will not transport aerosol cans or other pressurized items in the truck. The safest approach is to transport them yourself in a temperature-controlled vehicle, stored upright and away from direct sunlight. If you have a large quantity, consider using them up before the move or replacing them at your destination.
Step 4: Wrap and Protect Fragile Items
Glass bottles, ceramic containers, and anything with a breakable applicator need to be individually wrapped before packing. Bubble wrap is the most effective packing material for fragile toiletries, and packing paper works well for lighter items. Soft clothing like t-shirts and socks can also cushion fragile items, but it's not as reliable as dedicated packing materials.
Take extra care with fragile toiletry items, such as:
- Perfume and cologne bottles: Wrap each bottle separately in bubble wrap, secure with tape, and pack them upright in a small box with additional cushioning on all sides.
- Glass skincare bottles (toners, serums, oils): Wrap each one, place it in a zip-top bag in case it breaks, and pack them in the top layer of a box away from heavy items.
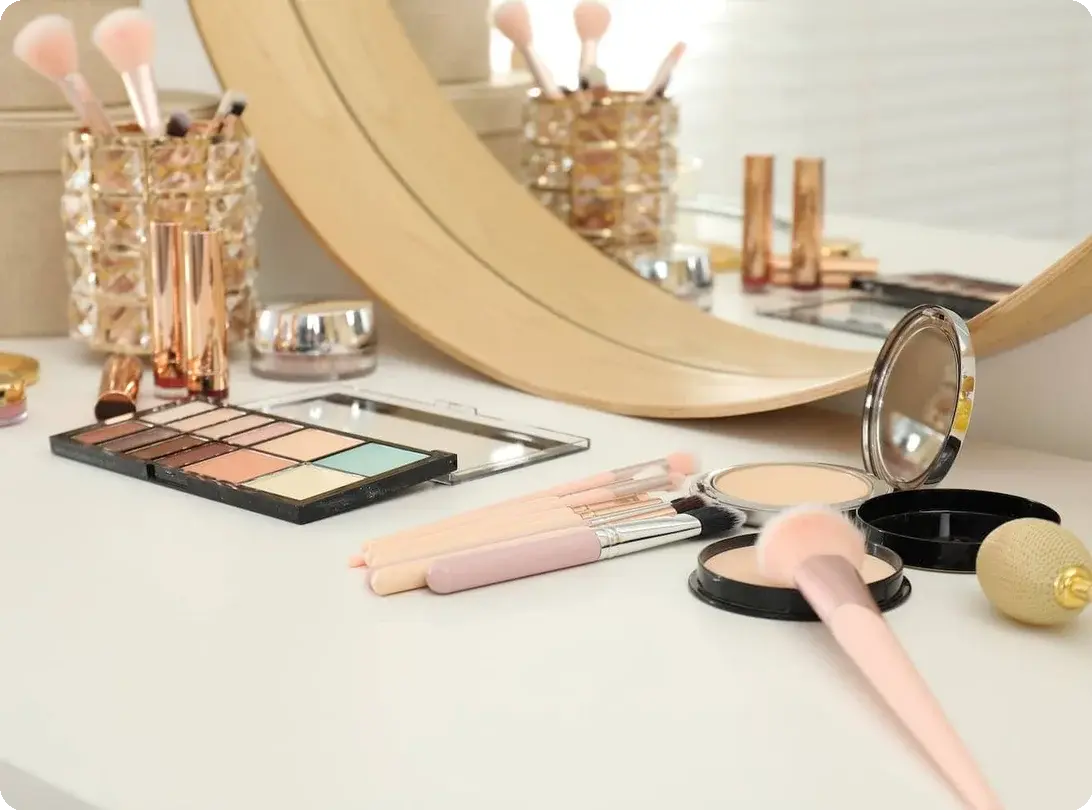
- Makeup and cosmetics: Pressed powders, palettes, and compact mirrors crack easily. You want to wrap them similarly to perfume and cologne bottles (in a layer of bubble wrap). You can also see our detailed guide on how to pack makeup for moving.
- Nail polish bottles: Pack upright in a small zip-top bag together, cushioned on all sides.
Step 5: Prepare Small Electronics and Hair Tools for Packing
Hair dryers, flat irons, curling irons, electric shavers, sonic toothbrushes, and similar tools need a little prep before they go in a box. These items combine heat, electricity, and sometimes batteries. Careless packing can cause damage or create a safety issue.
- Heat and safety: Ensure all heat styling tools are fully cooled. Wrap the barrel or plates in a heat-resistant pouch or a folded towel before packing.
- Cleaning and maintenance: Wipe down tools, remove hair from brushes and combs, and clean out any product buildup from styling tools.
- Cord and cable management: Coil cords loosely and secure with a twist tie or Velcro strap, then tuck them alongside the tool. Wrapping them tightly around the tool can damage the cord over time.
- Battery and power safety: Remove all batteries and make sure rechargeable tools are powered off. Keep chargers with the tool, so they don't get lost.
Step 6: Sort Toiletries into Groups
Packing everything together in one box might seem easier, but sorting toiletries into categories makes unpacking a lot faster and can prevent messes. When everything has a logical group, you can unpack systematically instead of hunting for things across multiple boxes. Use these categories as a starting point:
- Hair care: shampoo, conditioner, hair masks, styling products, brushes, combs, hair ties
- Skincare and cosmetics: cleansers, toners, moisturizers, serums, sunscreen, makeup, applicators, mirrors
- Oral hygiene: toothbrushes, toothpaste, floss, mouthwash, whitening products
- Medications and first aid: prescriptions, OTC medications, vitamins, bandages, first aid supplies
- Shaving and grooming: razors, shaving cream or gel, trimmers, aftershave
- Bath and body: body wash, bar soap, loofah, bath salts, body lotion
- Cleaning supplies: toilet bowl cleaner, surface spray, scrubbing brushes, trash bags
If you share a bathroom with other people, keep each person's items grouped and labeled separately. It will save you a lot of confusion when you're unpacking.
Step 7: Choose the Right Container or Bag
Different types of toiletries need different containers. Matching the right bag or box to the contents protects items better and helps everything fit together.
- Zip-top bags: ideal for small loose items, travel-size products, and oral hygiene items. Provides a first layer of leak protection inside larger containers. Use gallon-size for grouped items.
- Waterproof bins or containers: the best option for shampoo, conditioner, and body wash. If something leaks, the damage stays contained.
- Padded toiletry bags: great for fragile cosmetics, glass skincare bottles, and perfume. The padding absorbs impact and keeps items separated.
- Hard-sided cases: good for medications, first aid supplies, and anything that needs to stay organized and protected.
- Small cardboard boxes: useful for heavier grouped items like cleaning supplies. Line with a garbage bag if the contents include anything liquid.
- Insulated or heat-resistant pouches: ideal for hair tools that retain heat, like flat irons and curling wands.
Step 8: Pack Liquids, Fragile Items, and Electronics Safely
Where items sit inside a box matters as much as how they're wrapped. Liquids go on the bottom of a box, upright and in a waterproof container. This prevents heavy bottles from crushing lighter items. Make sure bottles are sealed before they go in.


 Karen BodkinAug 28, 2026