How to Pack up Your Kitchen: Pantry, Fridge, and Freezer

packing fridge pantry freezer

One of the biggest challenges of relocating is figuring out how to pack your kitchen for moving. Kitchens are a blend of fragile dishes, heavy appliances, and food items, and are often the hardest part of the house to pack — particularly the pantry, fridge, and freezer. You don’t want to waste food, but getting these items to your new home without spilling or spoiling any of it can be tricky.

In this guide, we'll explain exactly how to pack these areas, including when to pack, what order to pack, and how to keep food safe during your move.

Last updated: Jul 29, 20257 min read
Melanie Morris
Written byMelanie Morris

Key Takeaways

  • The kitchen is the hardest room to pack: start 2-3 weeks before move day with non-essential gadgets and dishes
  • Eat down the pantry, fridge, and freezer: in the weeks leading up — fewer perishables to deal with on moving day
  • Pantry packing: keep dry goods in original packaging when possible, tape spice jars shut, double-bag flour and sugar
  • Fridge and freezer: defrost 24+ hours before, clean thoroughly, and use coolers with ice packs for the few items you do bring
  • Last to pack, first to unpack: coffee, kettle, basic utensils, and breakfast items go in an essentials box you keep with you
Melanie Morris
Author

Melanie Morris

Melanie Morris is an editor, writer, and one of the sharpest moving experts at HireAHelper. Seven years spent answering readers' toughest questions and demystifying a process most people dread has made her an authority on what movers actually need to know — and how to explain it without the jargon. Her own relocations around the Southwest and up and down the West Coast give her the firsthand experience to back it up. Whether you're crossing the country or just moving down the block, Melanie makes sure the advice you get is accurate, trustworthy, and easy to act on.

What to Do Before Packing Your Kitchen

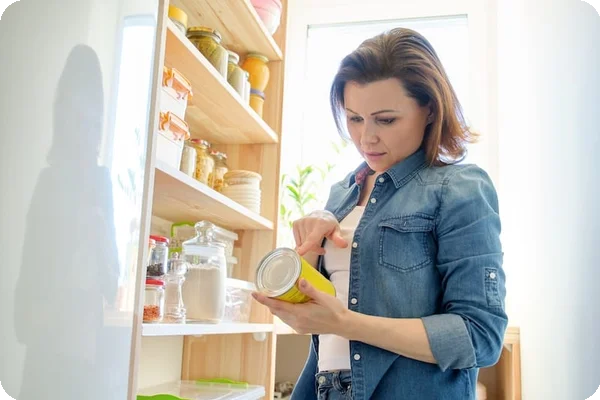
A homeowner taking inventory of pantry, fridge, and freezer items before packing the kitchen for a move

In general, the pantry, fridge, and freezer should be the last parts of the house you pack. This helps reduce the risk of spoiled food and gives you more time to eat items you don't plan to bring with you. That doesn't mean you should wait on the rest of the kitchen — you can pack most of your dishes, pots, pans, and small appliances long before you get to the food. You should leave just a plate, bowl, glass, and a set of utensils for each person in your household.

Want to minimize waste? Here's what to do before you start packing the fridge, freezer, and pantry:

  • Stop buying groceries. About 5 to 7 days before you move, stop buying groceries you won't be able to finish.
  • Eat existing food. Transporting food can be a hassle, so in the weeks leading up to the move, start eating as much of your existing groceries as possible. Focus on perishable items first; the more meats, fruits, condiments, and vegetables you can eat, the less you have to discard, donate, or transport.
  • Throw out or donate unwanted items. About 3 to 5 days before you move, go through all of your food items. Throw out everything that's expired or nearly empty. Then, set aside unopened, unexpired, and non-perishable items that you don't want to take. Donate them to a local food bank or homeless shelter. Finally, identify any perishable foods that are still edible, and offer them to your friends, family, or neighbors. You can also use apps like Olio to share extra food with others in the community.
  • Prep the food you're taking with you. At this point, you should be left with the food you intend to move to your new home. Start by labeling everything with the contents and use-by dates. This is particularly important for homemade items such as sauces. Then, freeze everything you can to keep it colder for longer in transit. Group similar items, such as meat and dairy, together for easier organization and transport.
  • Make an essential food box. Set aside all the items you plan to eat or cook during the last week in your home. These should be items you don't plan to pack, so make sure you can get through them all before moving day.

How to Pack a Pantry

Since it mostly contains non-perishable foods, begin by packing the items in your pantry. Get started about 1-2 weeks before you move, allowing plenty of time to sort and organize.

Use These Best Practices to Pack Your Pantry Efficiently

Group similar items
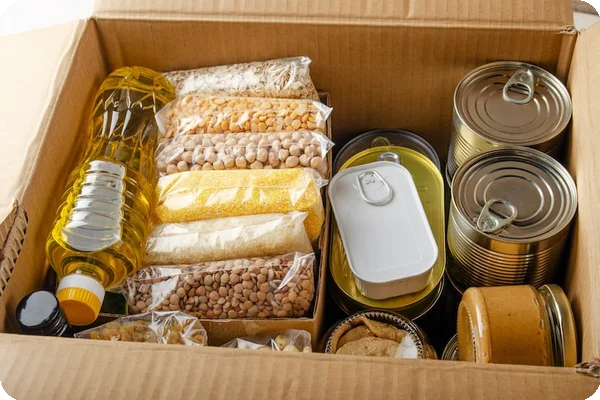
Pantry shelves with canned goods, dry foods, and spices being sorted into moving boxes

For easier organization, packing, and unpacking, start by grouping similar items. Put each group on a different shelf for convenience. This simplifies packing and unpacking and might include categories such as:

  • Cans and jars
  • Spice containers
  • Boxed cereal, pasta, rice, and crackers
  • Baking goods such as flour, sugar, baking powder, and baking soda
  • Snacks, including chips, cookies, fruit snacks, and granola bars

Pack fragile items in separate boxes

Identify things that could break or crush in transit, such as delicate glass jars or bags of chips, and pack them separately. You can also wrap them in bubble wrap for extra padding. If the items still shake around in the box, add filler material (or extra kitchen towels) to reduce movement. This protects breakable and crushable food.

Use sturdy, small-to-medium-sized kitchen moving boxes

Pantry items can get heavy quickly, especially when you're dealing with cans and jars. Smaller boxes are easier to lift and stack. This makes boxes manageable and prevents injuries.

Line boxes with plastic

Place trash bags inside your packing boxes before loading food items. This helps prevent the box from falling apart if a container breaks or a can is punctured in transit. It can also protect your other belongings.

Seal open food packages
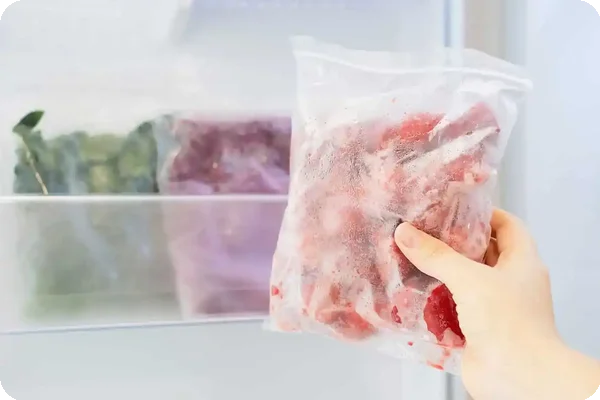
Hand holding a frozen bag of meat taken from a freezer.

If you're bringing open bags or boxes, place each one into a large plastic bag and seal it tightly. This helps keep the contents in place if the container is shaken or crushed during the move, and prevents spills and contamination.

You can also keep pests at bay and prevent messy spills by loading all open food containers (in bags) into plastic bins with airtight lids. This keeps pests out and prevents messes.

Load boxes strategically

When packing moving boxes, place heavy items such as cans or full boxes on the bottom of the box to create a stable foundation. Then, layer in lighter items on top. Make sure to lift the boxes occasionally to prevent the weight from breaking the cardboard. This ensures stability and easier handling.

Fill in the gaps

When packing irregularly shaped food items, fill the gaps in the box with filler material to prevent the items from shifting.

“Don't pack raw meat, milk, or eggs unless you're confident that you can keep them completely chilled. If these items rise above a safe temperature, they can accumulate harmful bacteria.”

You can use towels, extra plastic grocery bags, packing paper, or even paper towels. This keeps items secure and prevents jars from breaking and bags and other packaging from getting holes in them.

Avoid overloading boxes

Make sure each box is 40 pounds or under. This makes loading, unloading, and unpacking a lot easier for you and your movers. This eases transport and prevents injury.

Label each box clearly

Before you seal each box, label it with the contents. Make a note of the boxes that contain open packages; you'll want to unpack them first. This helps prioritize unpacking and ensures awareness.

How to Pack a Fridge and Freezer

Because the foods in your fridge and freezer are perishable, you'll want to pack them last — ideally, as close to moving day as possible. This helps keep food fresh and makes it easier to transport. Here's how to pack the perishables in your fridge and freezer:

Pre-cool your coolers

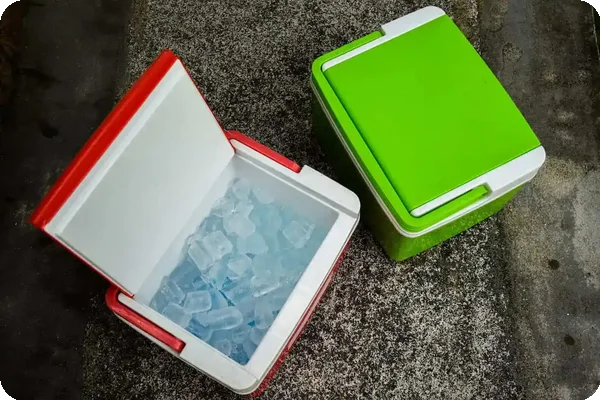
Two portable coolers, one open with ice packs inside.

About 24 hours before you need to load refrigerated or frozen food, fill your coolers with ice. This allows the insulation and shell to cool down, so the cooler can keep food colder for longer. Pre-cooling helps maintain cold temperatures for longer.

Layer food with ice packs

Line the bottom of your cooler with ice, add a layer of food, and add another layer of ice. Repeat this process until the cooler is full, ending with a top layer of ice. Interspersing the food with layers of ice helps maintain a consistent temperature throughout the cooler. This ensures even cooling throughout.

Consider using 12-volt freezers

If you're transporting frozen items, consider using a 12-volt freezer instead of a cooler. They plug into the ports on your vehicle and keep food frozen while you drive (no need for ice).

“About 5 to 7 days before you move, stop buying groceries you won't be able to finish.”

Choose a model with a compressor, and avoid thermoelectric models; they don't provide the consistent cooling needed for frozen items. This setup maintains a steady frozen temperature without ice.

Prep your vehicle

Decide where to place the coolers in your vehicle. Then, lay towels down to absorb leaks and condensation. You don’t want to make a mess of your car or moving truck, especially if you’re hauling other items with your food. Any moisture could damage boxes or other items.

Load coolers just before you leave

Loading coolers last can help preserve the ice's cooling power, especially if you're moving during the summer. This preserves ice and cold temperatures for longer.

Plan to replenish ice

If you're driving a long distance, plan to check your ice regularly and replace it as needed. This keeps food safely chilled during long drives.

Don't forget to prep your fridge

Right before or after you remove food from the fridge, unplug it. Then, remove all shelves and bins, and wash them in the sink. Wipe down the inside, and leave the doors open to let it dry. This prevents mildew and prepares it for moving.


Pro Tips for Packing Your Fridge, Freezer, and Pantry

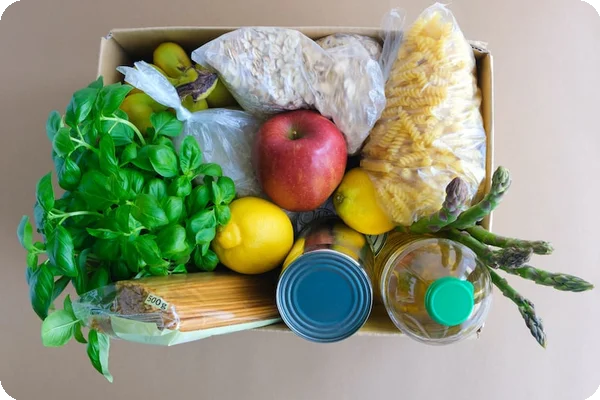
essential food box

As you're deciding how to pack your kitchen for moving, keep these tips in mind:

  • Avoid leaks. If possible, avoid packing opened containers that are prone to leaks, such as half-used condiments or containers of soup. If they spill into your cooler, it can cause a mess that takes a long time to clean up.
  • Be careful with bacteria-prone foods. Don't pack raw meat, milk, or eggs unless you're confident that you can keep them completely chilled. If these items rise above a safe temperature, they can accumulate harmful bacteria.
  • Pack perishables sparingly. If you're moving across the country, consider throwing out all of your perishables. It's often easier and cheaper to replace them when you get to your new home.
  • Check food temperatures upon arrival. Place thermometers into each of your coolers. When you arrive at your new home, check to make sure the temperature is below 40°F. If not, the food may not be safe to consume.
  • Do a smell test. Smell each item in the cooler. If it smells bad or strange, it's probably safer to throw it out, even if you think the cooler was at a safe temperature.

Packing the Rest of Your Kitchen

Now that you know how to pack your pantry, fridge, and freezer, it's a good time to learn how to pack the remainder of your kitchen for moving. For tips, check out our other packing guides:

Packing your kitchen might be the hardest part of moving, but it's an essential step in the process. To make your move easier, try to bring only the foods you can't eat, donate, or throw away. By using a smart packing strategy, you can make sure your new kitchen is partially stocked when you arrive.

Recent Articles

An artist carefully packing brushes, paints, canvases, and art tools into protective boxes for a move

How to Pack Art Supplies for Moving

Packing

Packing an art studio can feel more complicated than packing the rest of the house. Instead of neatly shaped household items, you may be dealing with paints, delicate brushes, unfinished work, fragile ceramics, and... Read More

Mover packing a cardboard box during a move

How Long Does Professional Packing Take?

Packing

Professional packing can take anywhere from 2 hours for a small apartment to a full day or more for a larger home. The actual timeline depends on how much you own and how prepared you are when the crew arrives. In... Read More

Stack of cardboard moving boxes with bubble wrap and packing tape

Do Packers Bring Their Own Boxes and Supplies?

Packing

Packers do not always bring their own boxes, including when you book labor-only packing help directly or through HireAHelper. What supplies they bring depends on the type of packing service you choose. With... Read More

Toiletries and props arranged on a bathroom washbasin

How To Pack Bathroom Items for Moving

Packing

The bathroom can be tricky to pack. It’s one of the last rooms you get to because you use it regularly, and it’s filled with items that can break or spill, but there are techniques to make this area easier to move.... Read More

Woman keeping boots in a cardboard box at home

How to Pack Shoes for Moving: A Step-by-Step Guide (2026)

Packing

You might think shoes are easier to pack than glassware or your TV, but if you just throw them into a large bag without following the proper steps, you might end up with scuffed leather, bent heels, or a moldy pair... Read More

Patio furniture cleaned and wrapped for moving

How To Pack Patio Furniture for Moving

Packing

Patio furniture tends to be heavy, collect dirt from outside, and have irregular shapes that don’t fit well in standard boxes. But packing them for a move isn’t impossible with the right process. If you clean each... Read More