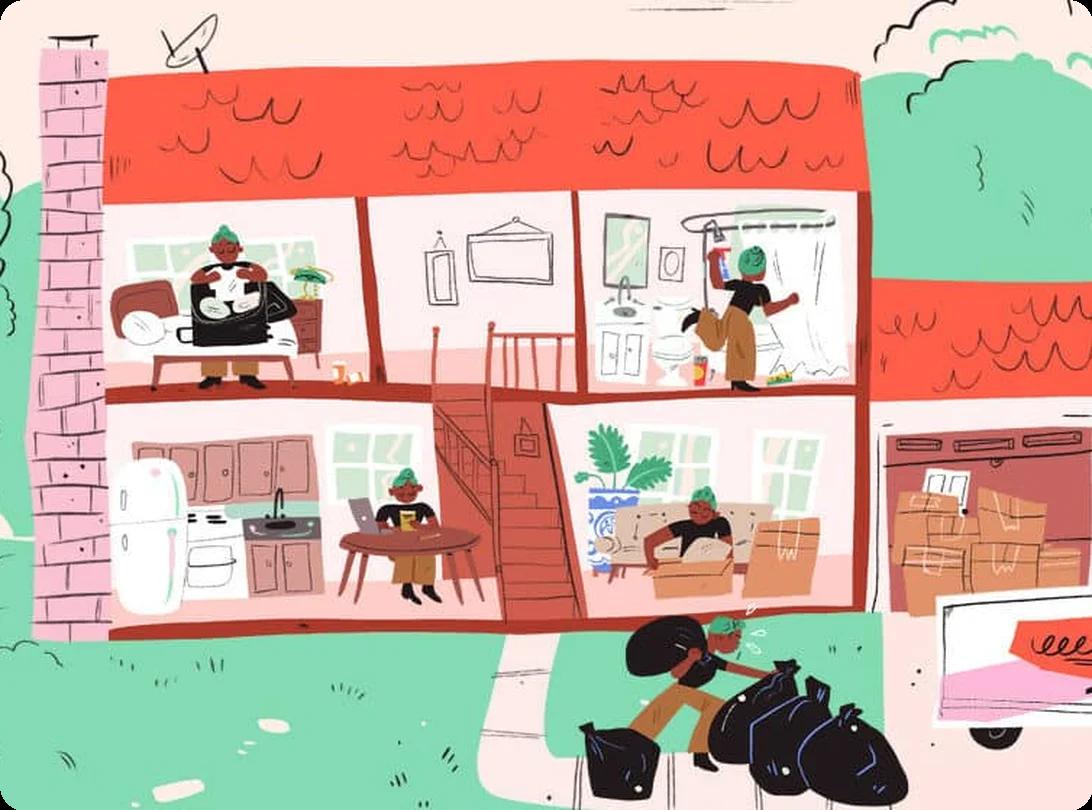
Step-by-Step: How to Pack Plates for Moving
Plates are one of the most commonly broken items during a move. Most break because they’re either packed flat or left loose in boxes. Follow these steps to keep them safe and snug:
1. Prepare the Box
Start with a sturdy dish pack box or reinforce a regular moving box with extra tape on the seams. Once your box is properly set up, line the bottom with 2–3 inches of crumpled packing paper, bubble wrap, or a folded towel to absorb impact from bumps or drops. If you’re using dividers, insert them now so you can slide plates into individual sections.
2. Wrap Each Plate Individually
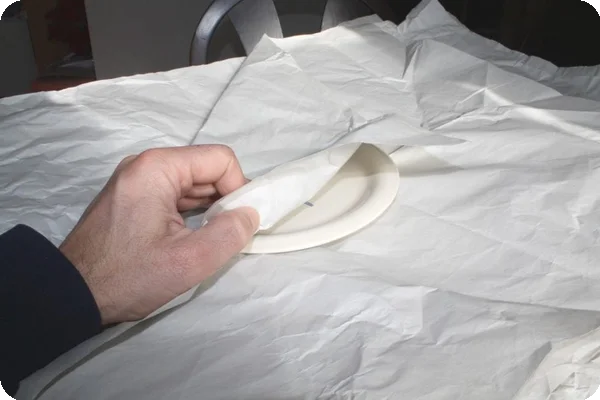
First, place a plate in the center of a sheet of packing paper or bubble wrap. Then, fold each of the corners over the plate, wrapping tightly. For extra protection, use a second sheet or a foam pouch. You can also secure the wrapping with tape if needed, especially for slick materials like glass or porcelain.
3. Stack Plates Vertically
When setting your plates in the box, you should always place the wrapped plates on their edge, like vinyl records, not flat. This position distributes pressure better and reduces the risk of cracking. Keep stacks at 4 to 6 plates per bundle, and use packing paper or foam between each plate to add cushioning.
4. Fill Empty Gaps and Cushion the Top
Once your box is mostly full, you should fill any empty spaces on the sides with crumpled paper, towels, or soft linens. Then, add a final padded layer on top to keep anything from pushing the dishes down during the move.
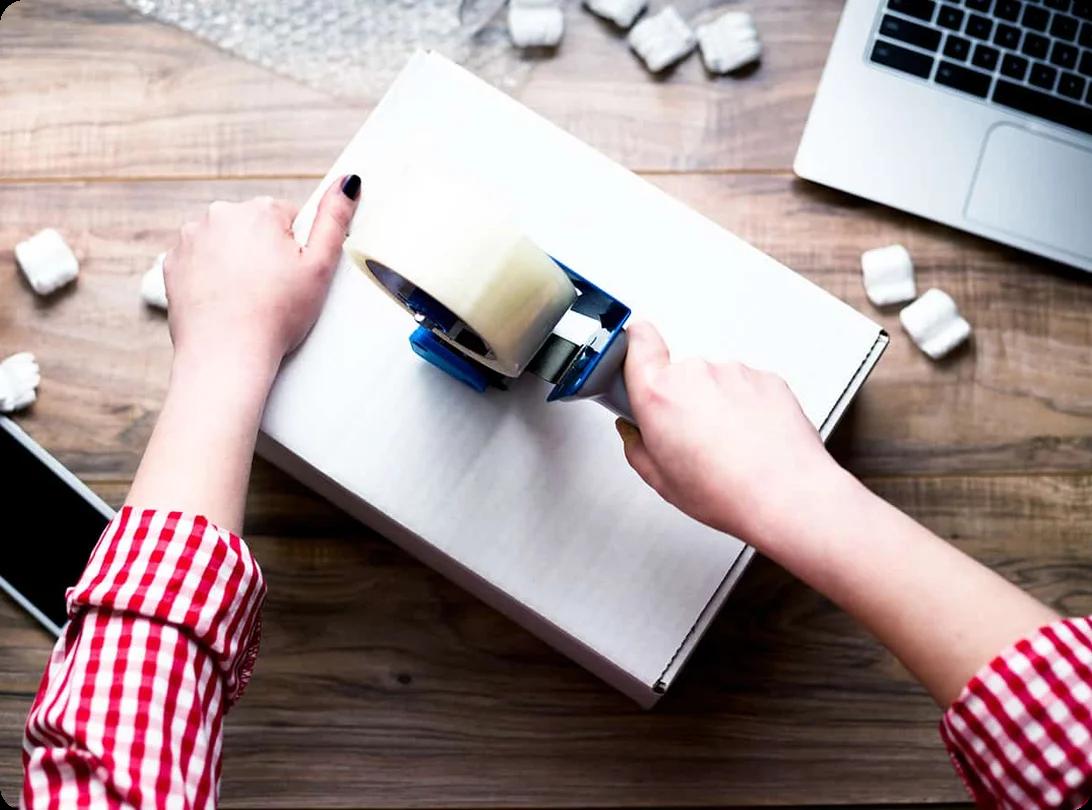
5. Seal and Label the Box
Once everything is safely and securely packed, close the flaps of the box and seal it securely with strong packing tape. Don’t skimp here! Label it clearly with: “FRAGILE – Plates – This Side Up.” The last thing you want is for you or your movers to unintentionally flip the box with all the plates in it upside down, or put something heavy on top of it.