The 14 Steps, From Defrosting to Plugging Back In
Moving a refrigerator safely comes down to two things: giving it enough prep time before the move and enough standing time afterward.
Before moving day, start with your refrigerator’s owner's manual. It can tell you how your specific model should be prepped and transported, along with how long it needs to stand upright before you plug it back in after the move.
Once you know what your fridge requires, the steps below will walk you through the rest of the process.
Step 1. Check the Owner's Manual
Your refrigerator’s manual is worth a thorough read because different models can have very different transport rules. Moving one in the wrong position can allow compressor oil to move into the cooling lines or cause other internal damage.
GE’s refrigerator moving guidance is a good example of how much the instructions can vary:
- Top-freezer models: GE says these can be laid on the side opposite the hinges if upright transport isn’t possible.
- Side-by-side models: GE recommends the freezer side, with separate rules for built-in models.
- French-door and bottom-freezer models: These should stay upright, although they can be tilted briefly to clear a doorway.
- Compact models: GE says these should stay upright. If one must travel on its side, extra prep may be needed beforehand.
- Built-in models: These should remain upright while they’re being transported in a vehicle.
Other brands may give different instructions, which is why understanding what is right for your model is so important. If you absolutely have to lay your fridge on its side, then you can consult your manual for the risks, as well as our guide on whether you can lay a refrigerator on its side.
Don’t have the manual anymore? No problem. You can usually find it on the manufacturer’s website using the model number.
Step 2. Measure Everything
You should measure the refrigerator itself, the route out of the old home, the route into the new home, and the truck opening. Make sure this is done before moving day, too, so you don’t have your fridge loaded up on a dolly before you realize you can’t maneuver it through a hallway.
Here’s how:
- Measure the refrigerator: Check the height, width, and depth, including handles or other parts that stick out.
- Measure the route out: Check doorways, halls, stairwells, thresholds, and tight turns.
- Measure the route into the new home: Pay special attention to the narrowest doorway and the final kitchen opening.
- Measure the truck: Make sure the door and interior are tall enough to keep the fridge upright.
If one spot looks too tight, you’ll know before the fridge is already strapped to a dolly in the hallway.
Step 3. Gather the Right Supplies
You’ll need a few essentials to move a fridge safely:
- A heavy-duty dolly with straps
- Moving blankets
- Packing tape or stretch wrap
- Furniture sliders
Using these tools reduces the risks of injury to yourself and damage to the fridge during transport. And don’t forget a buddy to help with balance and navigation. Moving any kind of fridge by yourself (except for a mini fridge or a skincare fridge) is not recommended.
Step 4. Empty the Fridge
Fridges are already heavy enough without being full of bottles, frozen goods, or accessories. Remove everything inside before you move the appliance, including the produce in the crisper and whatever's hanging out in the deli drawer. Not to mention, your fridge will need to be unplugged while you move it, which could last hours — most perishable stuff that’s not frozen is going to spoil anyway.
Place items in coolers right before you move so you can transport them to your new home. If you’re low on cooler space or don't want to worry about moving food, you should start eating down the fridge a week or so before you move to reduce the need to pack the items.
Step 5. Unplug and Defrost
GE recommends turning the refrigerator off a couple of hours before moving it to give the evaporator some time to defrost. If your fridge has noticeable ice buildup, you may need more time. Then unplug it from the wall.
Wait for any melted ice or water to drain, and dry the inside before moving it so you’re not dealing with leaks in the truck.
Your refrigerator’s manual should still take priority if it gives different prep instructions for your model.
Step 6. Clean and Dry Thoroughly
An empty, defrosted fridge is much easier to clean than one that's plugged in and housing food. Take the time to scrub it inside and out with warm, soapy water. Remove shelves and drawers, and scrub under and behind those areas.
Dry everything completely before shutting the fridge door. A clean, dry refrigerator cuts down on odors and mold, and reduces the risk that water might damage items in the moving truck. Plus, starting off in your new kitchen with a crystal clean fridge is super nice.
Step 7. Secure Loose Parts
Ensure loose or moving parts don't bang or swing during transport. Tape down doors, shelves, bins, and drawers, or remove the parts you can before transport. This cuts down on the weight, as an added bonus. Wrap shelves and other parts in towels and pack them in boxes if you opt to remove them, but make sure everything is labeled for easy reinstallation.
Step 8. Cover it Up
When you're moving something as big and bulky as a fridge, it's likely to brush up against or hit things. Wrapping the appliance in a moving blanket and stretch wrap can help cushion it.
If you hire help for your move, let the pros know a fridge is part of the moving day list. They'll probably bring their own padding, and they know how to wrap a fridge well already.
Step 9. Protect Your Floors
Because of how heavy it is, a refrigerator can scratch or dent flooring. To prevent that, use furniture sliders, sturdy cardboard, or hardboard to create a barrier between the appliance and the floor while also giving the dolly a smoother path.
First, clean and dry the floor so grit doesn’t get trapped underneath, then lay your cardboard or hardboard along the route. From there, tilt the fridge just enough for a helper to slip sliders or protection beneath it. Pull the refrigerator straight out rather than rocking it from side to side.
If your refrigerator has a water line, have it disconnected and drained before your moving crew arrives. Moving labor, even the teams booked through HireAHelper’s marketplace, don’t typically include water-line disconnection or appliance servicing.
Step 10. Tilt and Load Onto Dolly
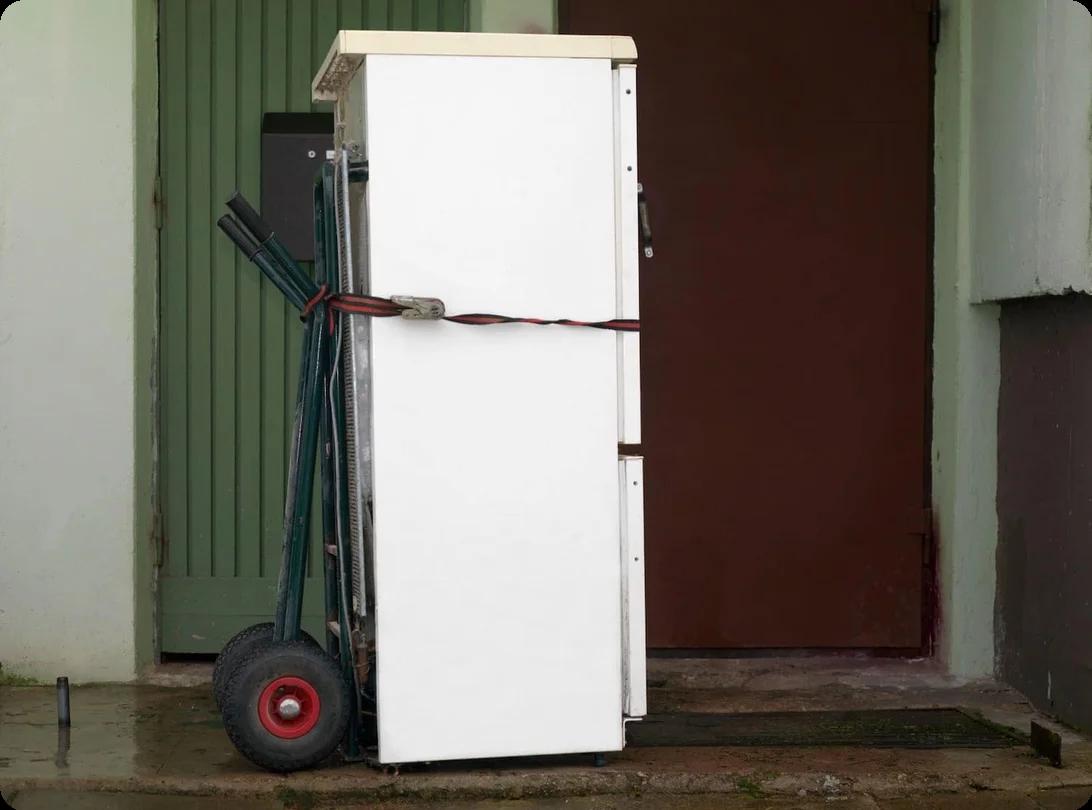
An appliance dolly is different than a standard furniture dolly because it’s designed for tall, heavy loads like a refrigerator, so make sure you have the right type.
With another person steadying the refrigerator, slide the appliance dolly underneath from the side. GE specifically recommends trucking refrigerators from the side because moving them from the front or rear can cause damage.
Use sturdy straps to secure the refrigerator to the dolly before you tilt it back. Whirlpool recommends keeping the tilt to no more than 45 degrees while it’s on the hand truck.
Step 11. Navigate Through Tight Spaces
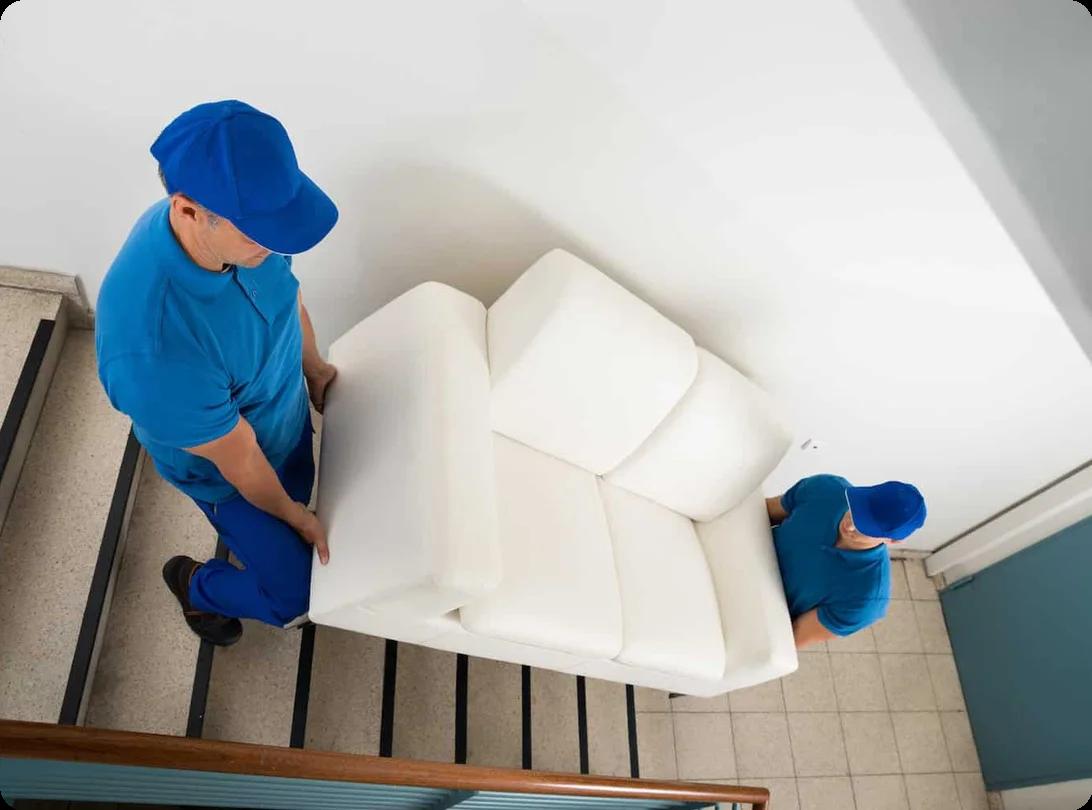
Clear the entire route before the refrigerator starts moving. Rugs, boxes, cords, shoes, and anything else underfoot can turn into a hazard when one person is balancing a refrigerator, and another is trying to guide it around a corner.
A spotter can help with thresholds, doorframes, and turns that are hard for the person on the dolly to see. If the refrigerator is just slightly too wide for a doorway, some models allow you to remove the doors. Check the manual before taking anything apart.



 Karen BodkinSep 04, 2026


.png&w=64&q=75)